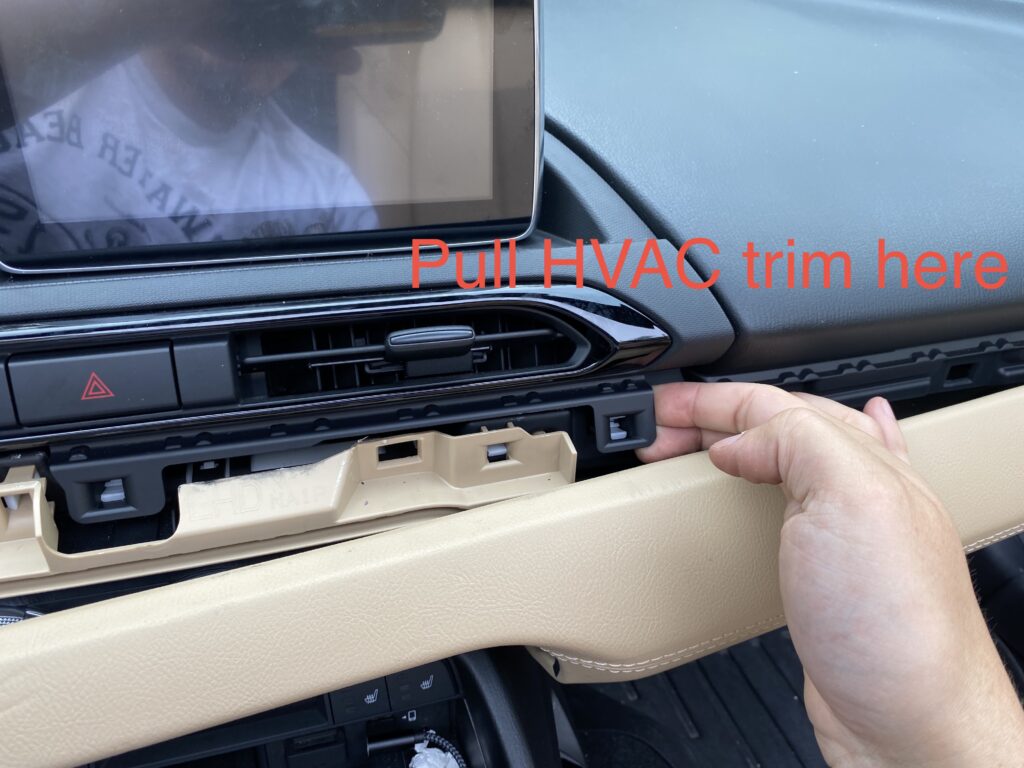
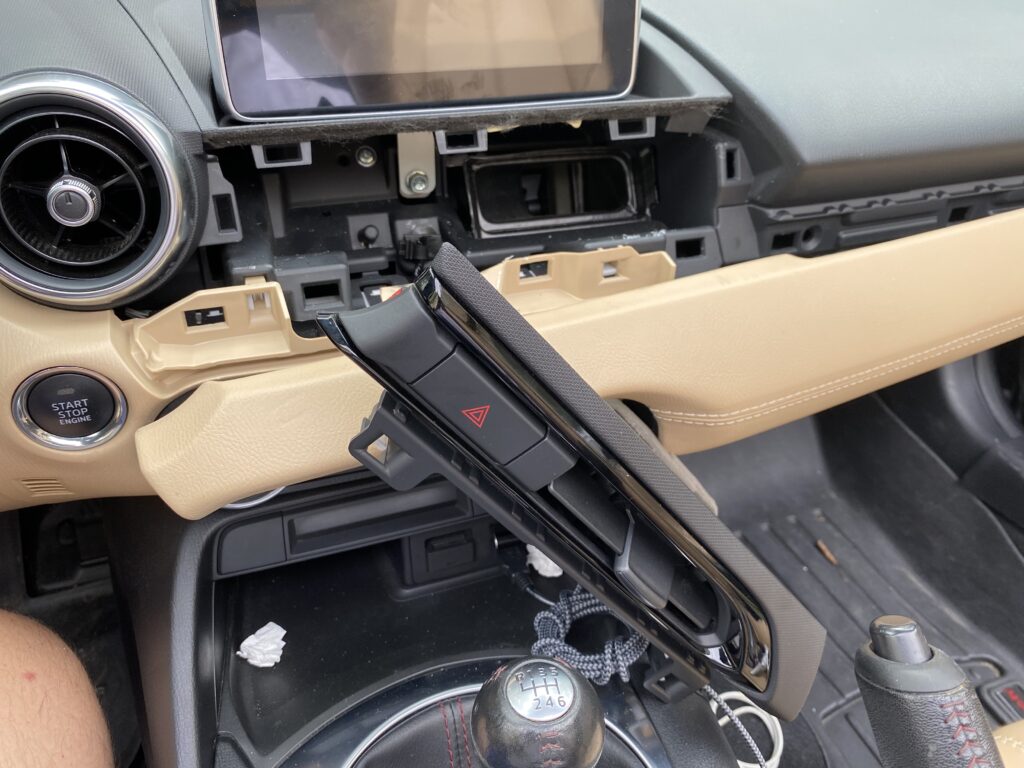
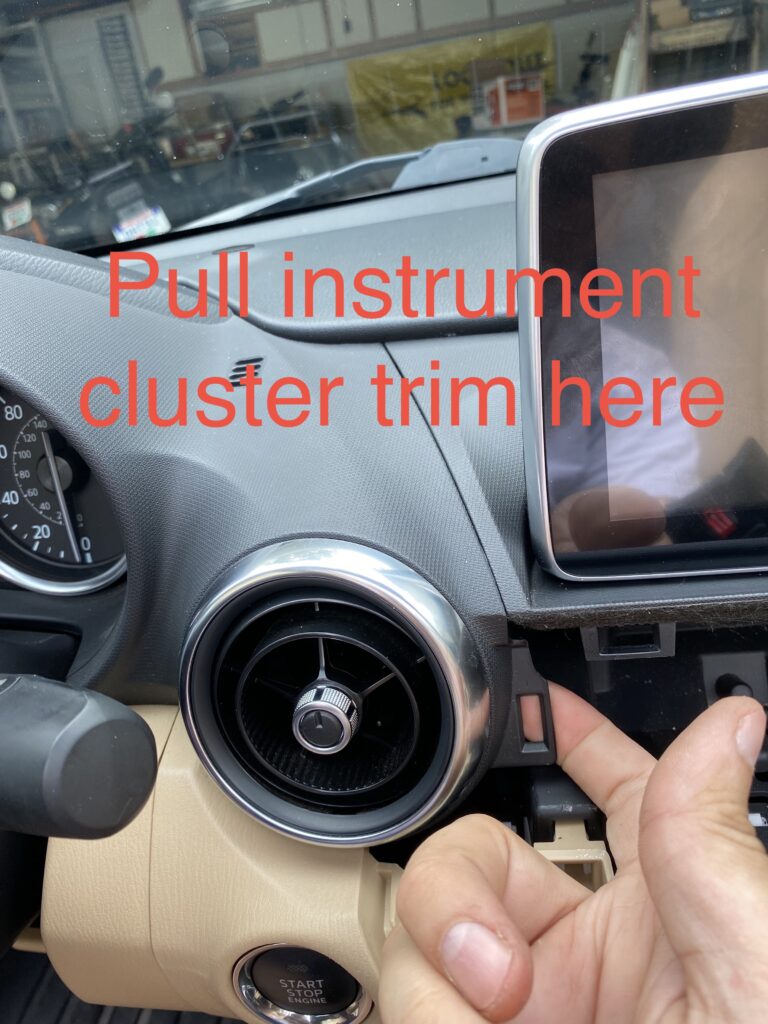
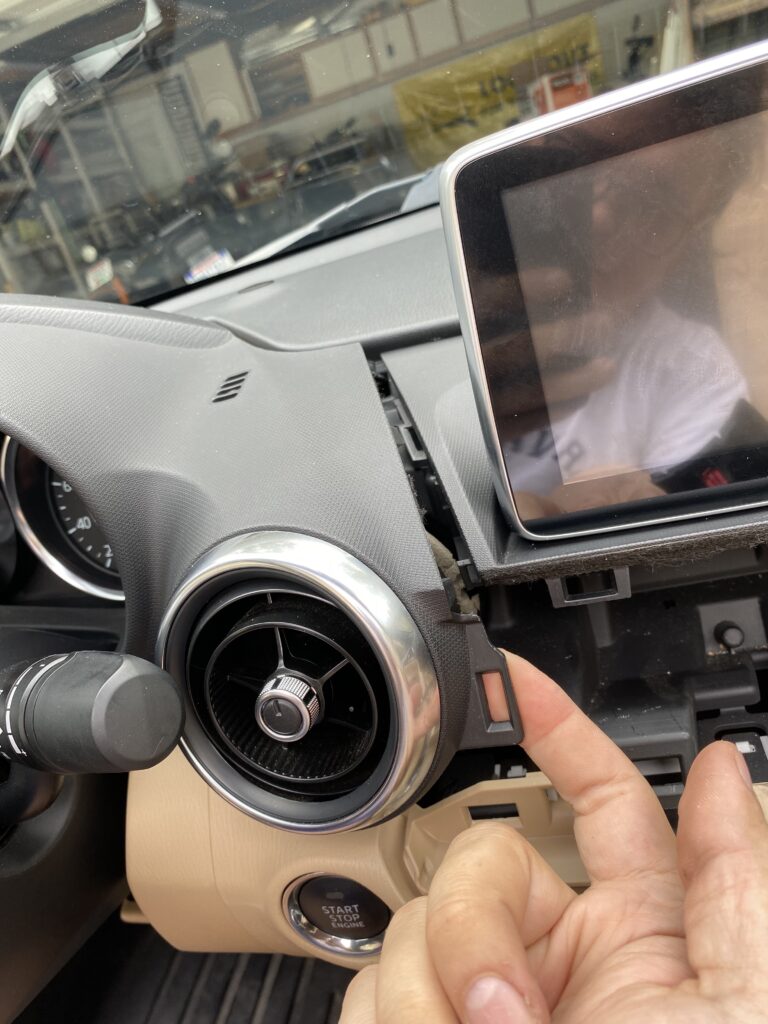
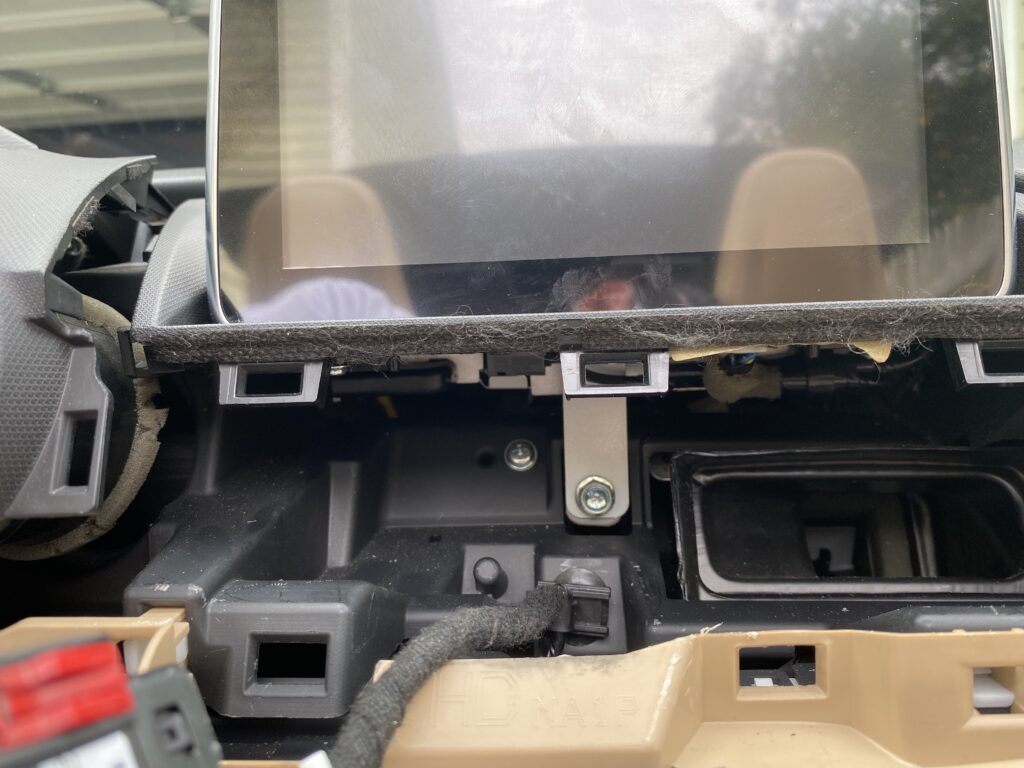
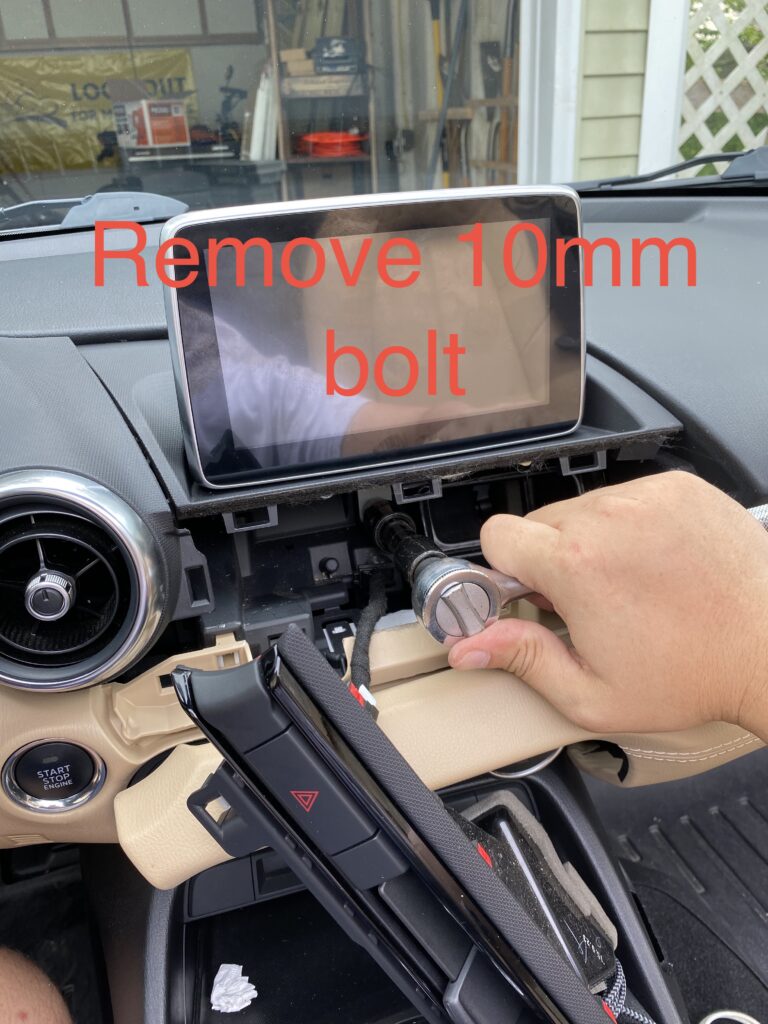
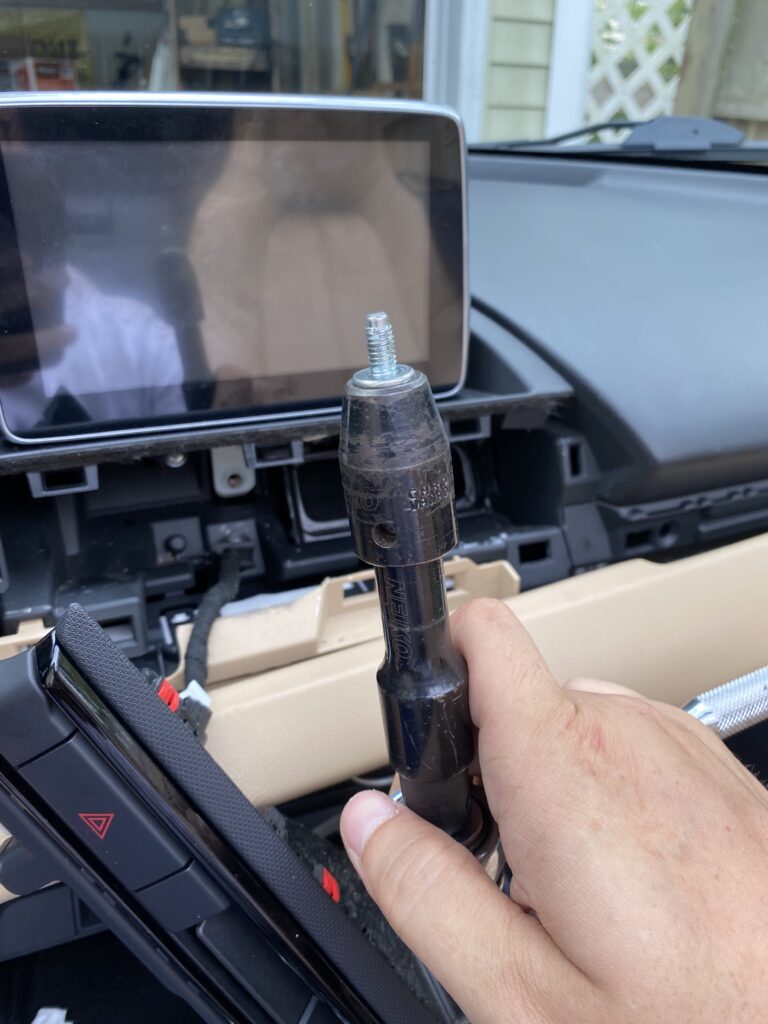
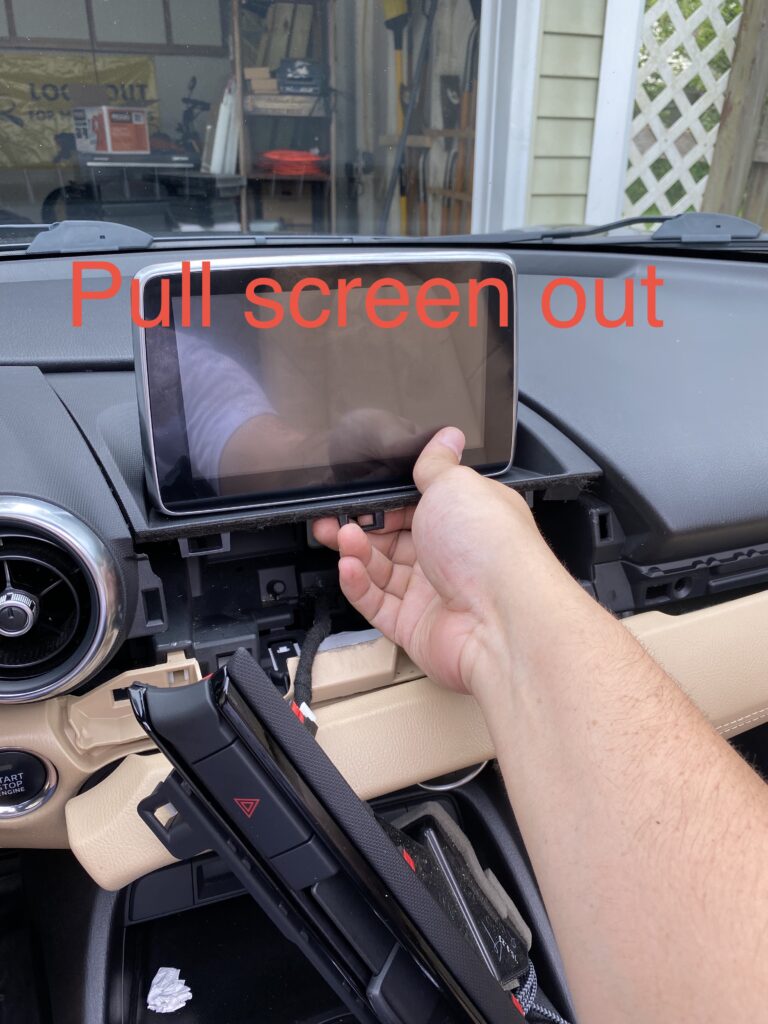
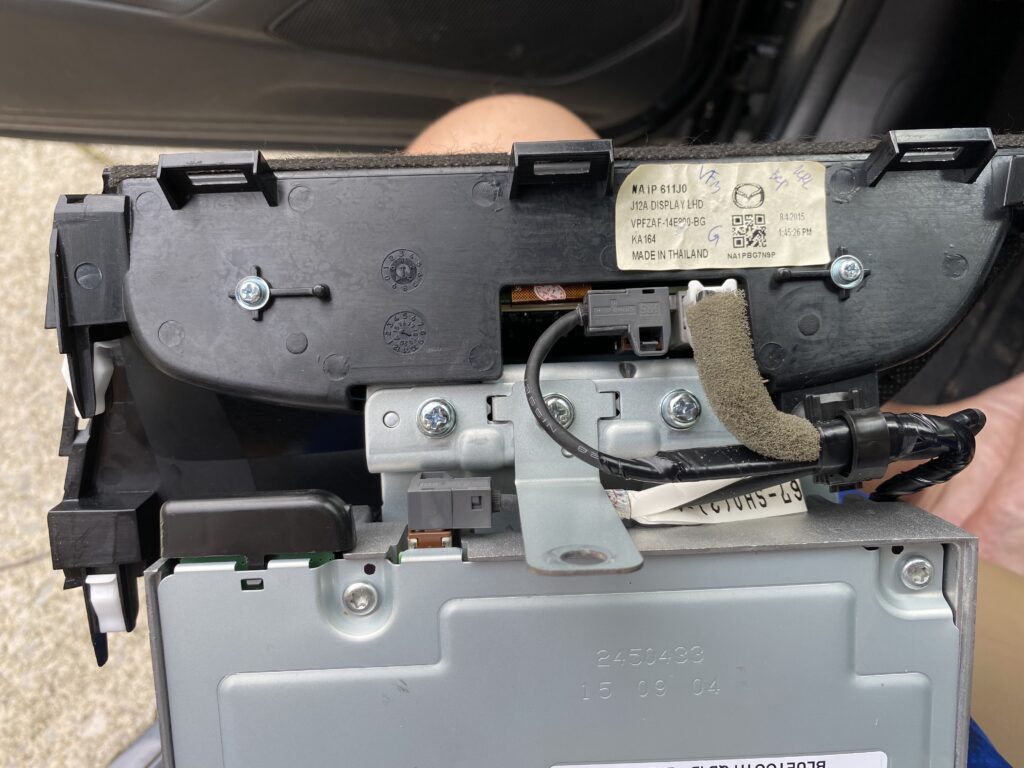
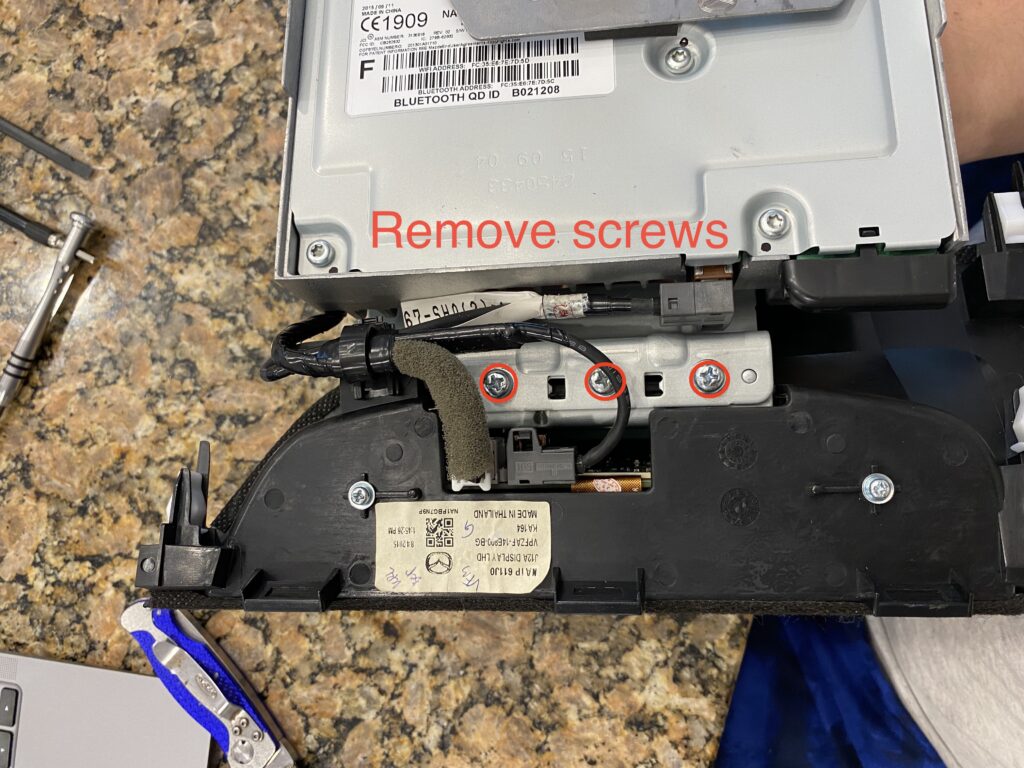
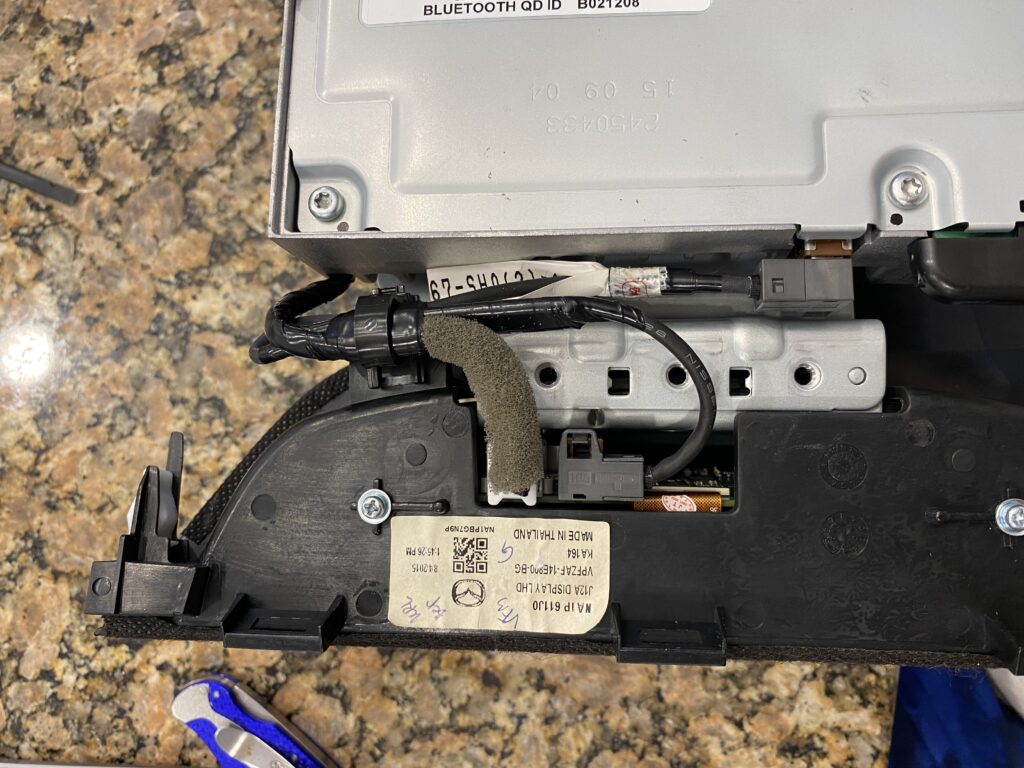
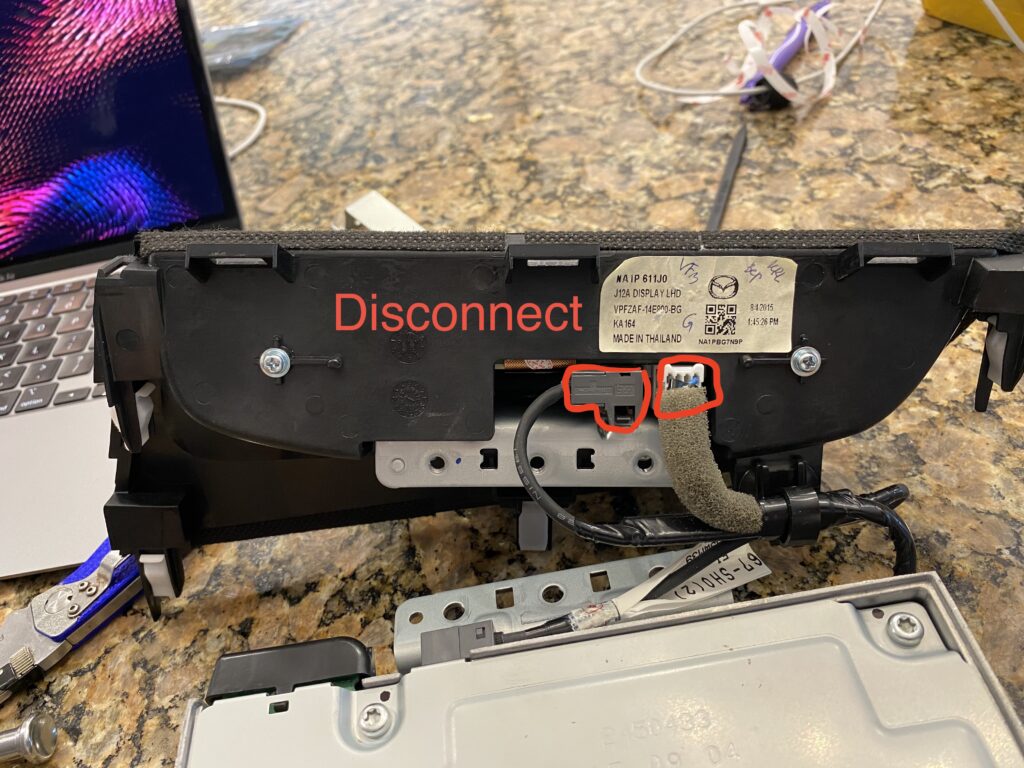
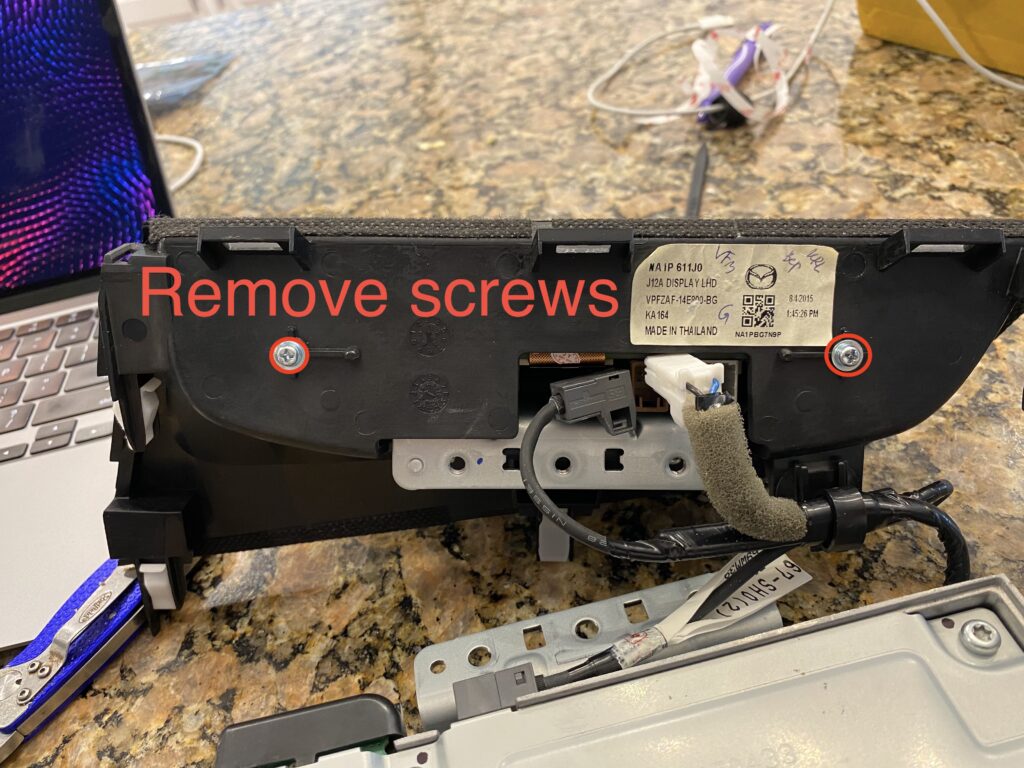
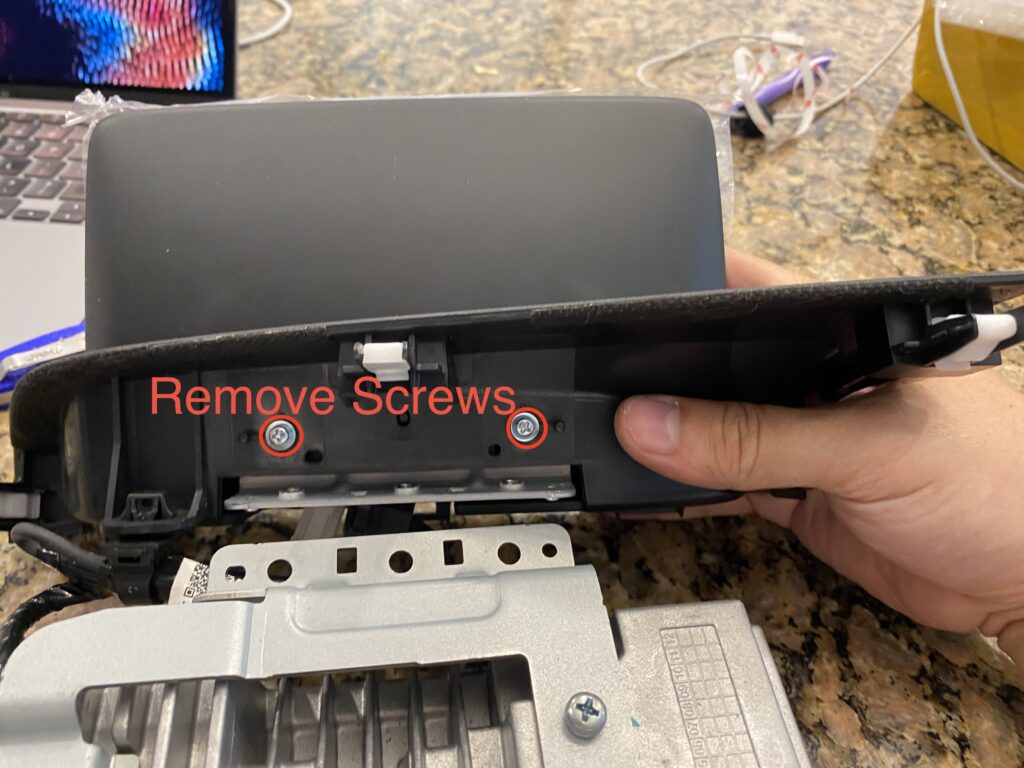
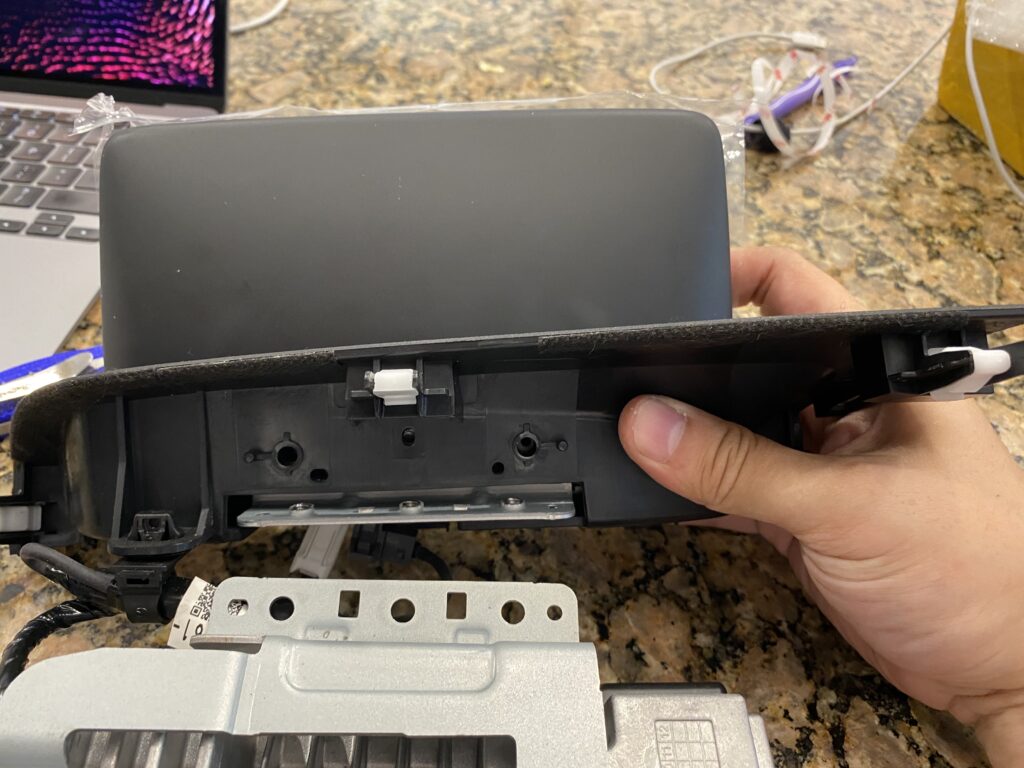
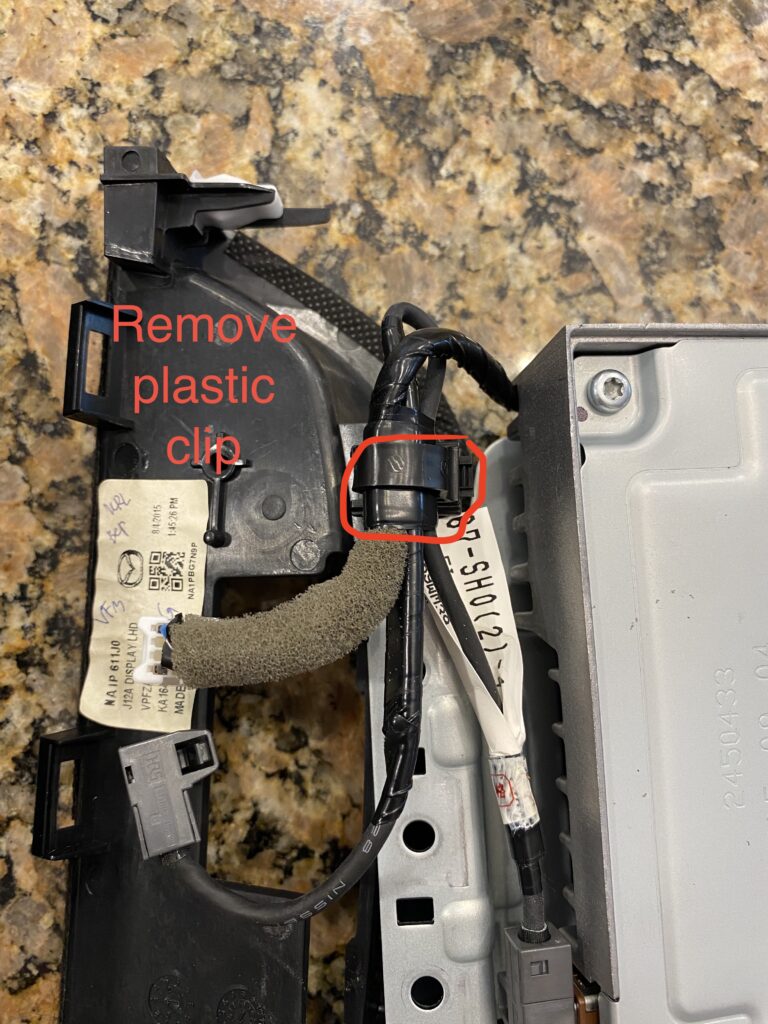
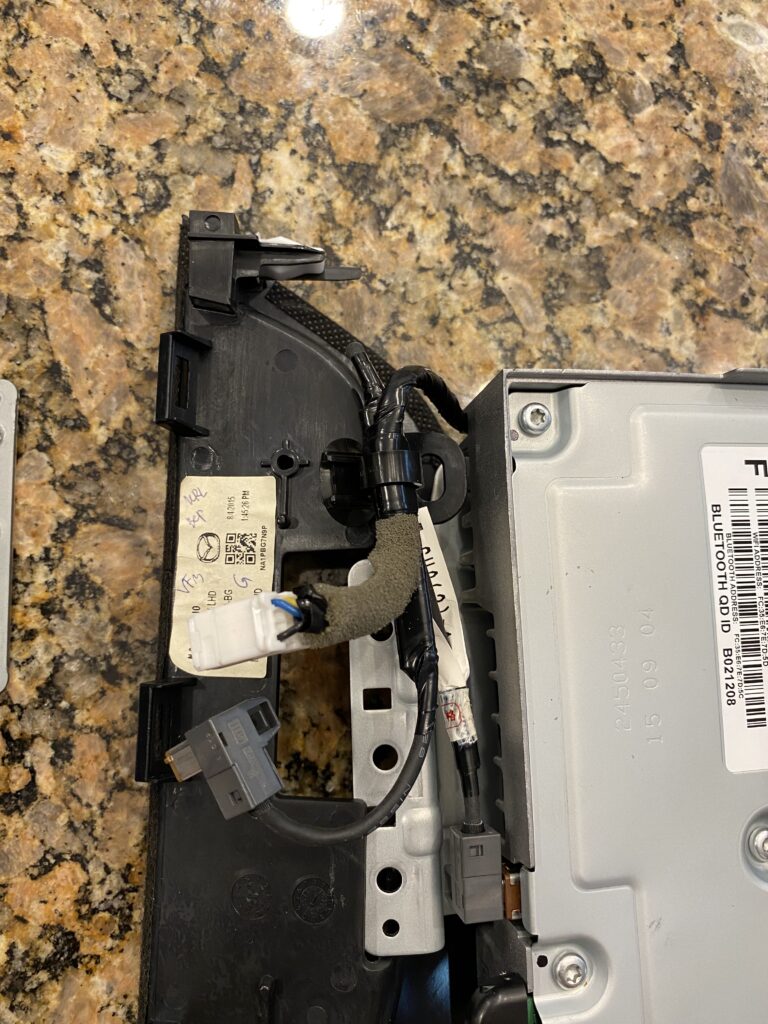
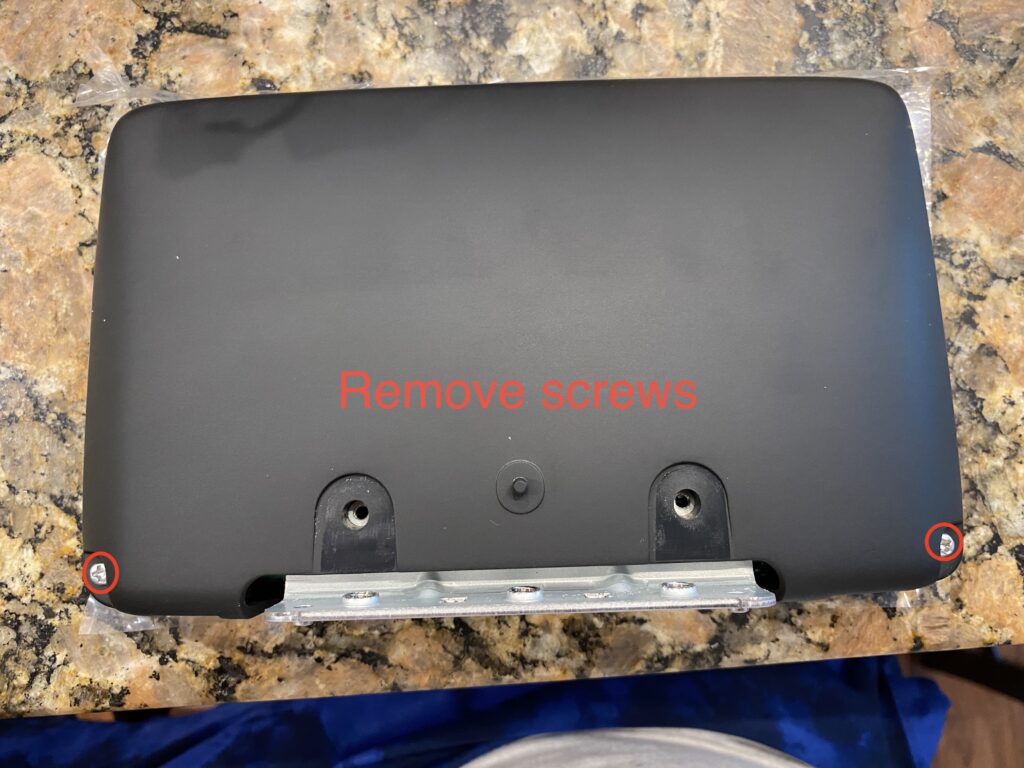
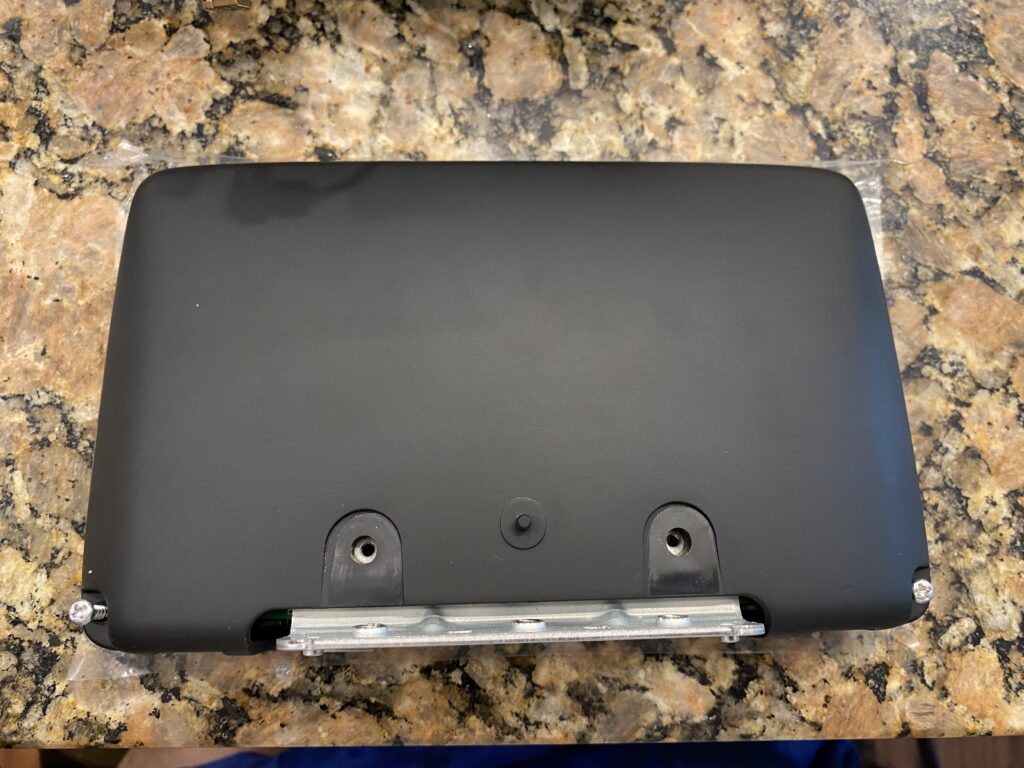
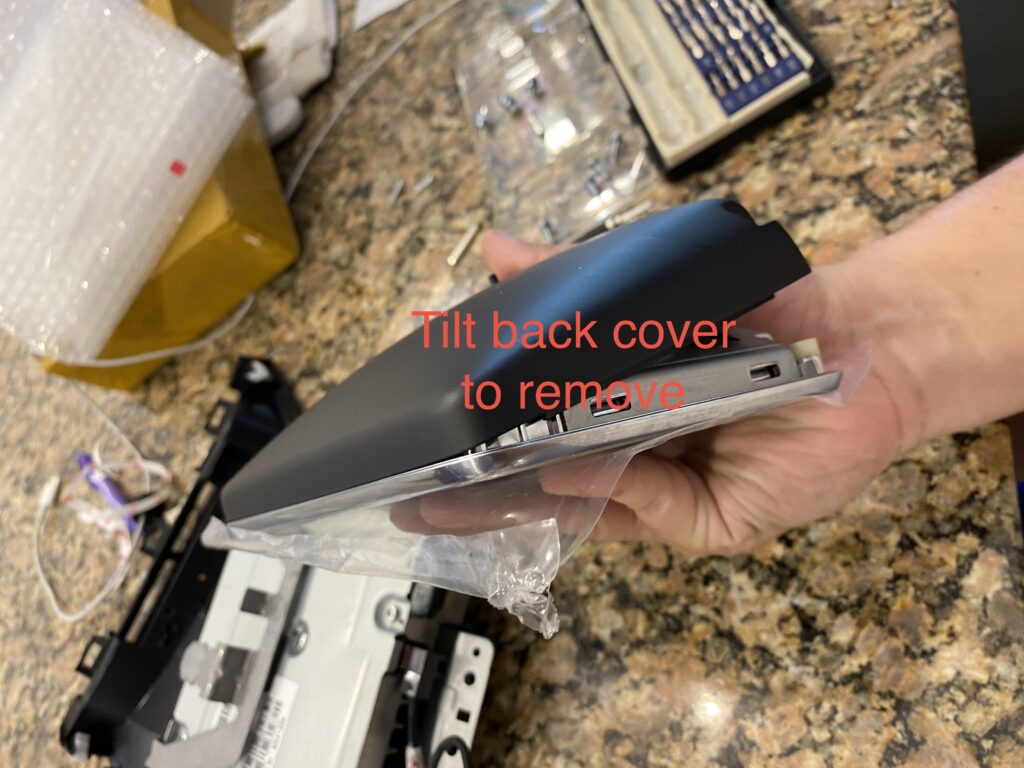
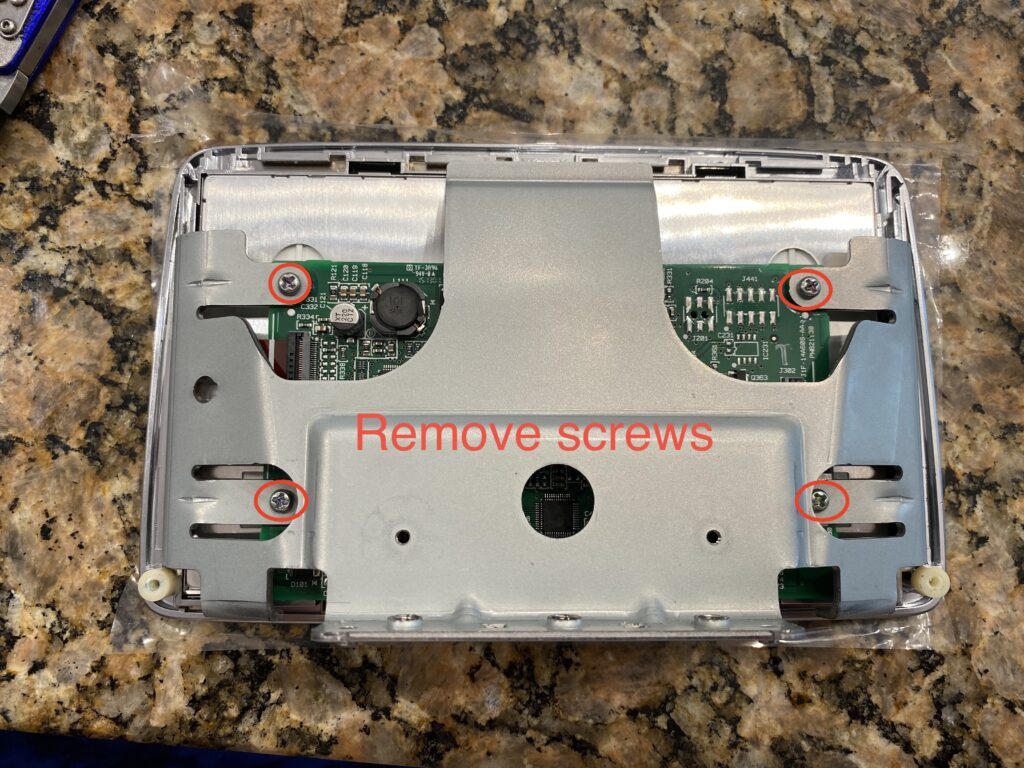
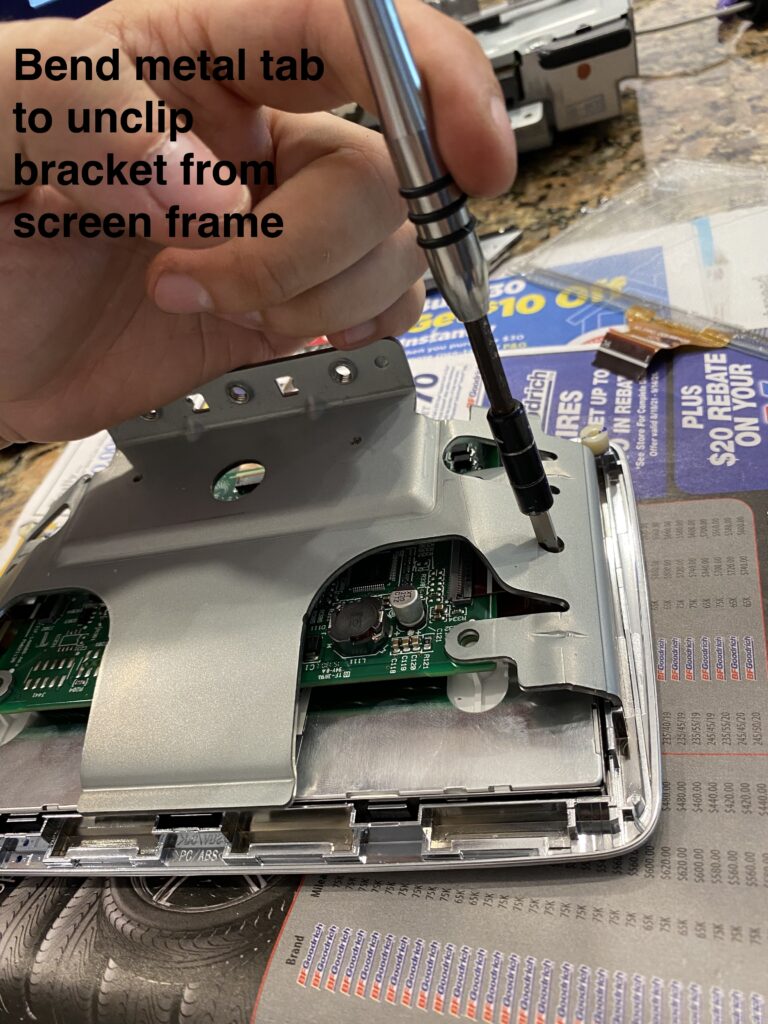
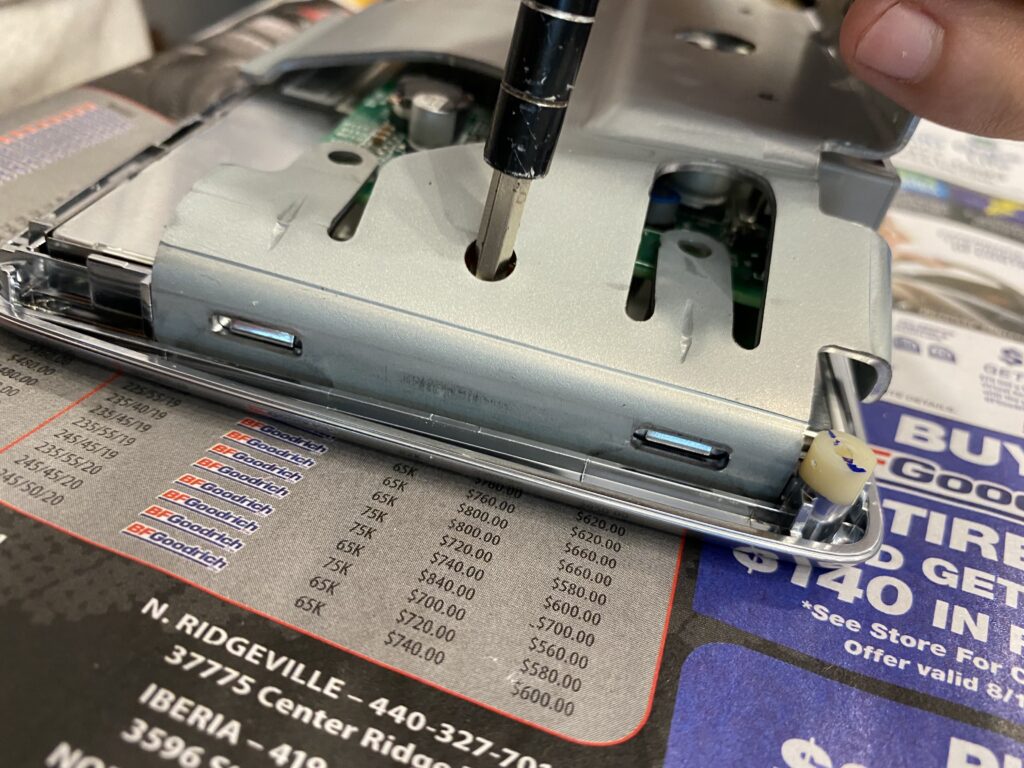
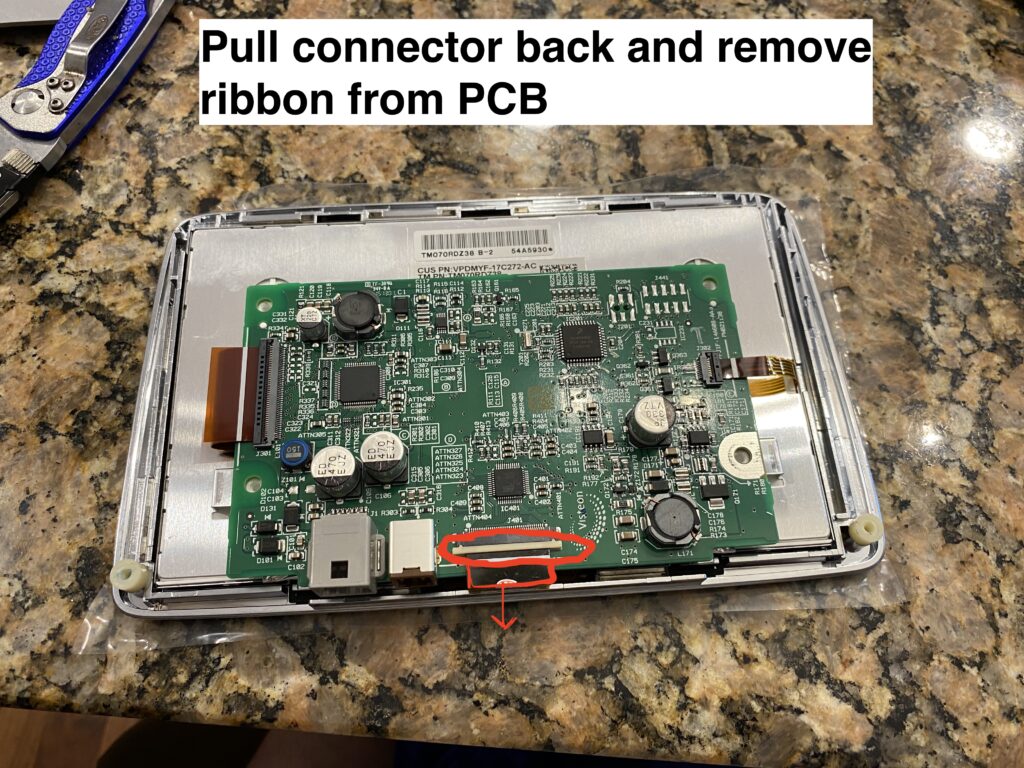
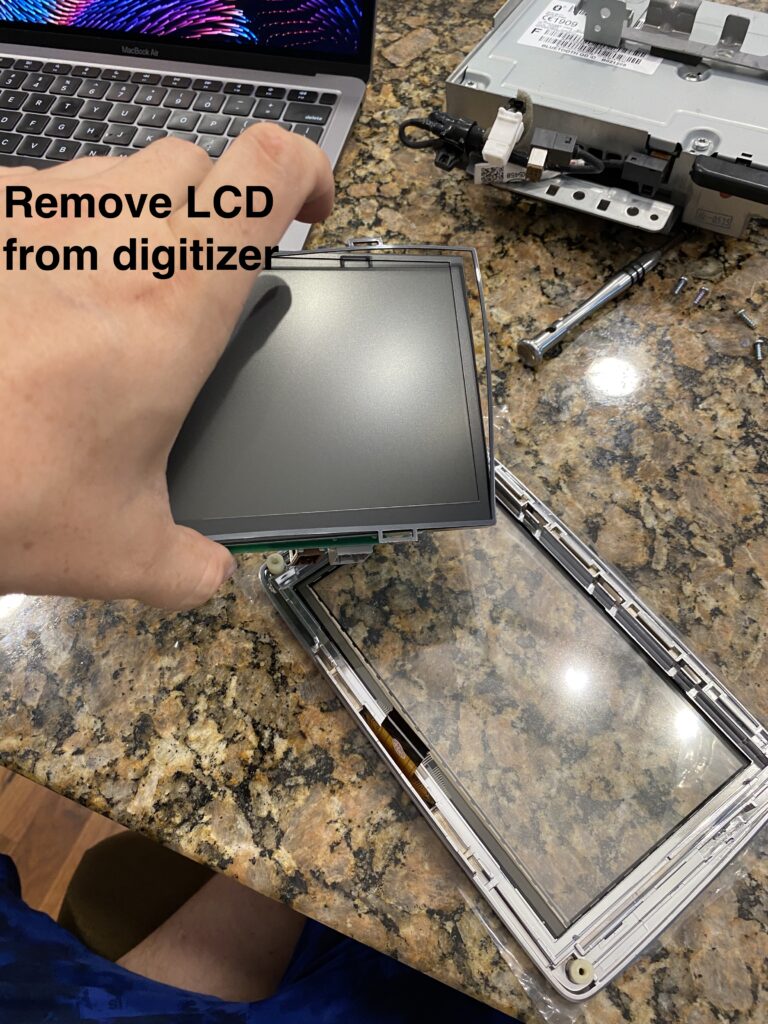
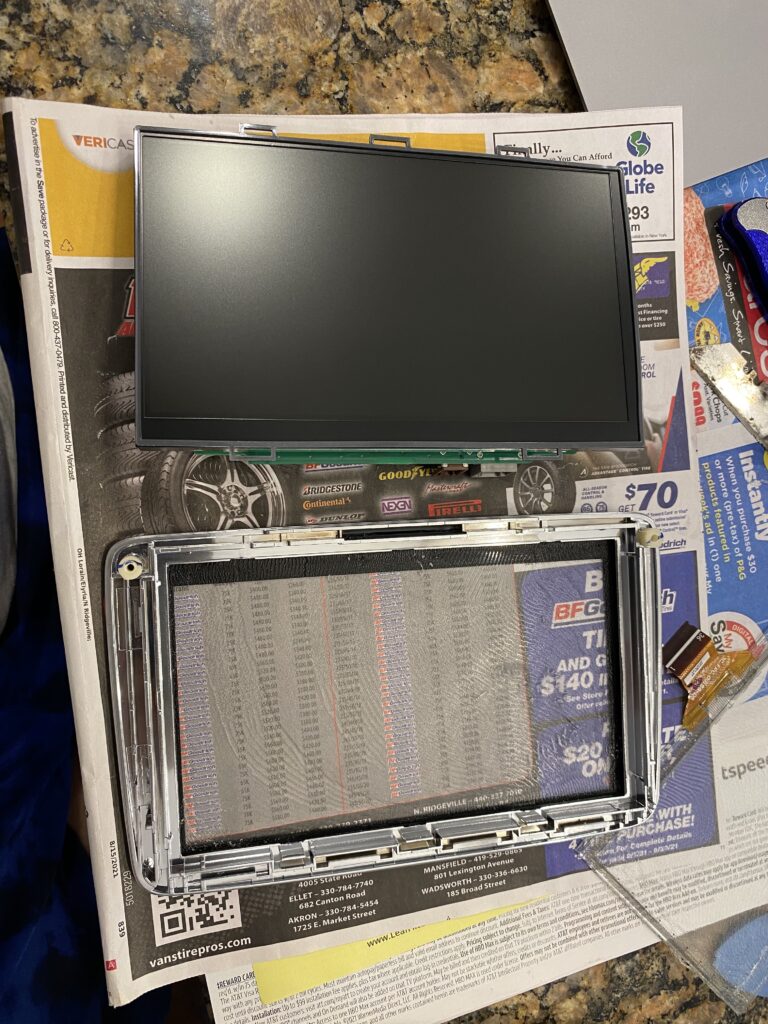
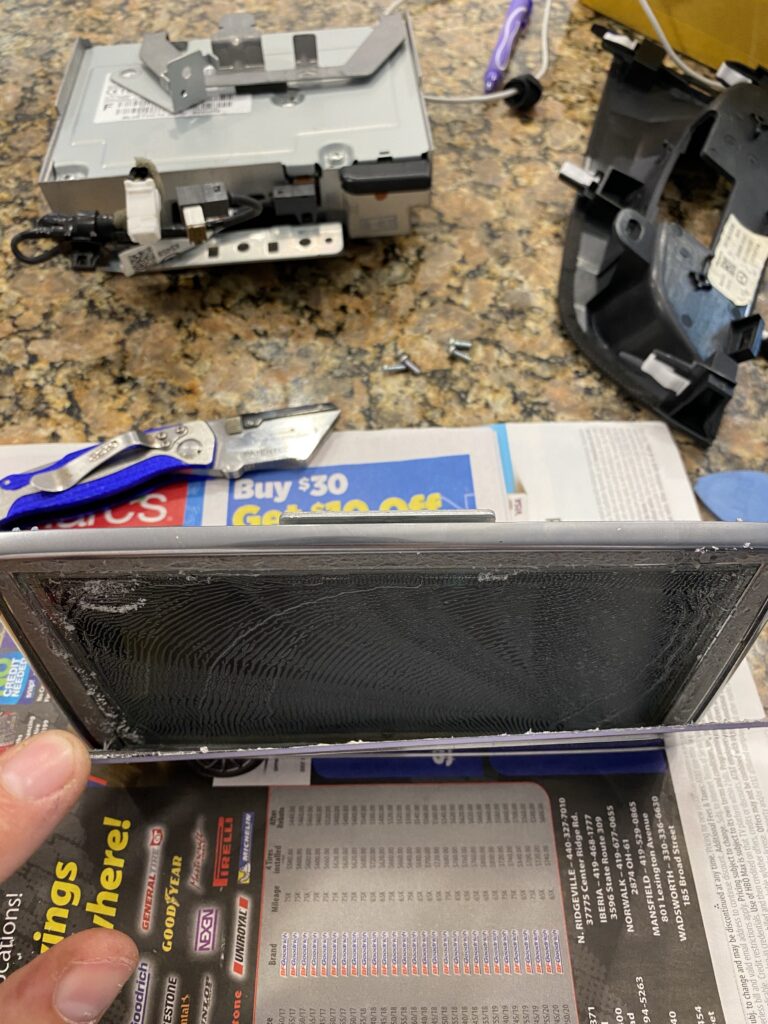
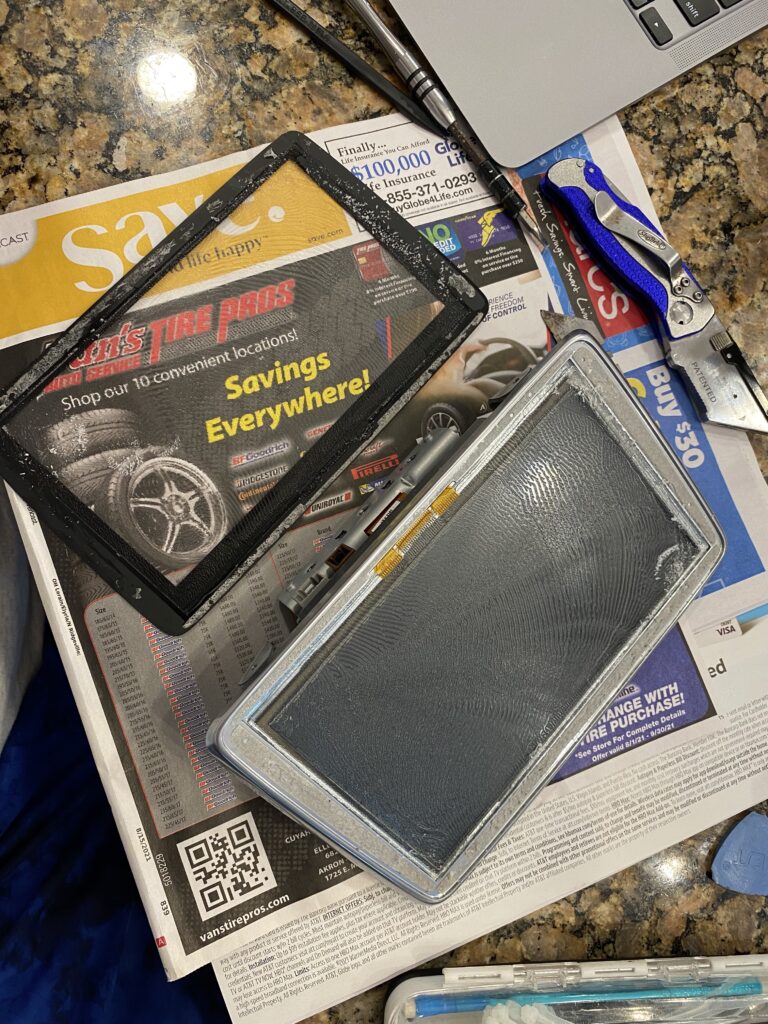
This is a guide on how to replace the touchscreen on a Mazdaconnect infotainment system.
This guide involves some basic tools and a $15-$25 part from Aliexpress. It is significantly cheaper than having a dealership replace the entire CMU ($1500+), or DIY replacing the whole screen assembly($200).
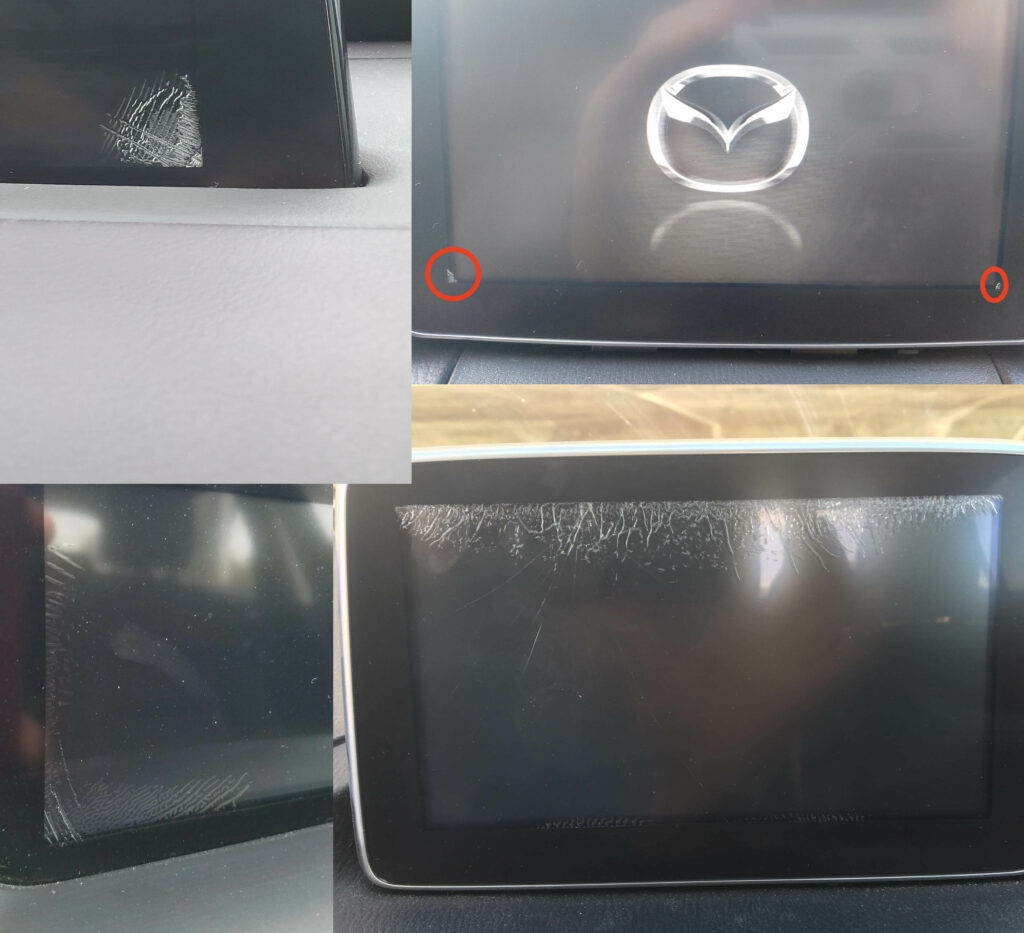
The problem: Repeated hot/cold cycles causes de-lamination of the adhesive used to combine the touchscreen cover and the digitizer. This failure was a manufacturing defect, and newer vehicles produced by Mazda do not have this problem.
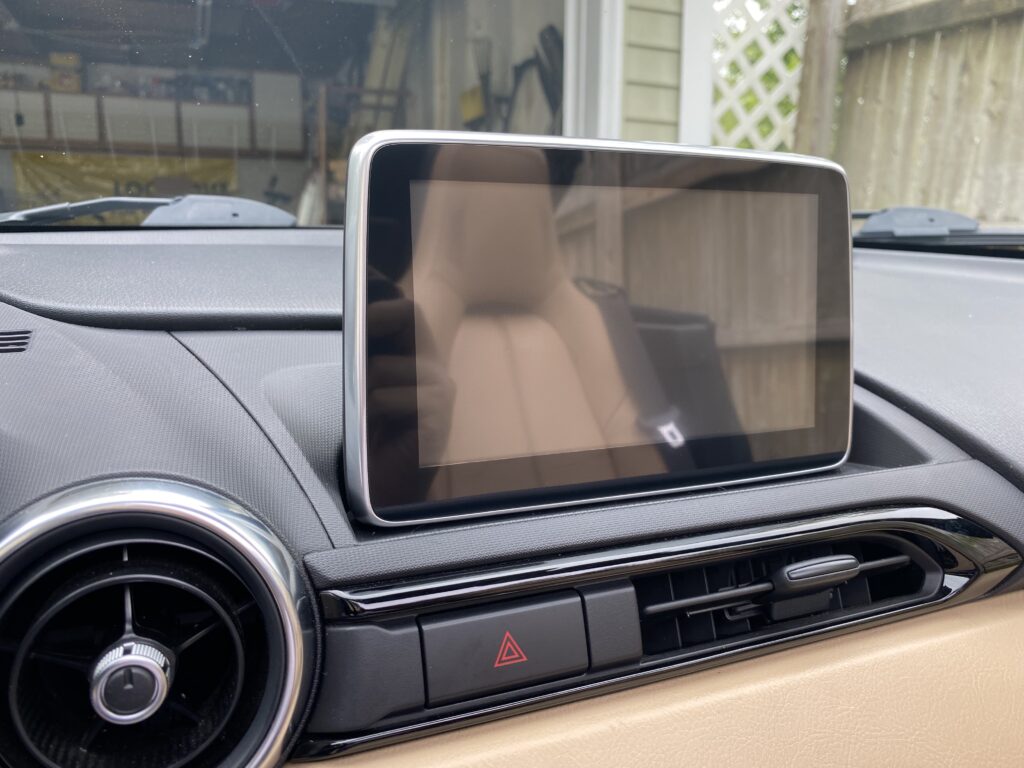
If your car is experiencing any of the issues seen below, this operation may be required to resolve.
If your car is still under full warranty, you can get it replaced at no charge. Info
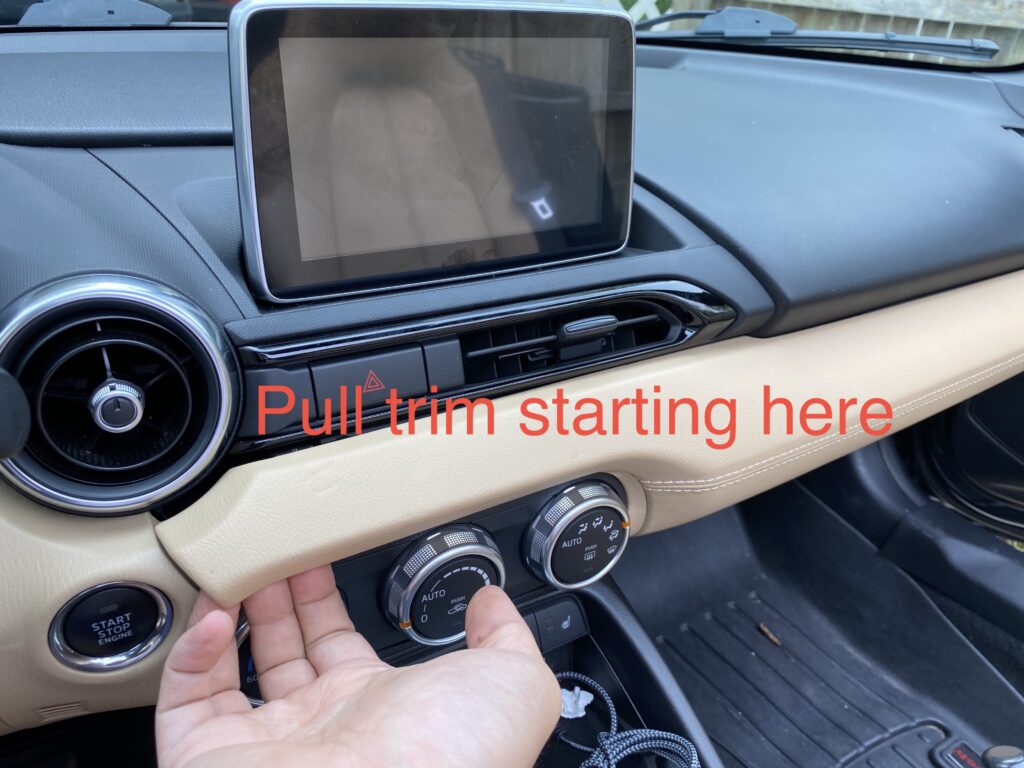
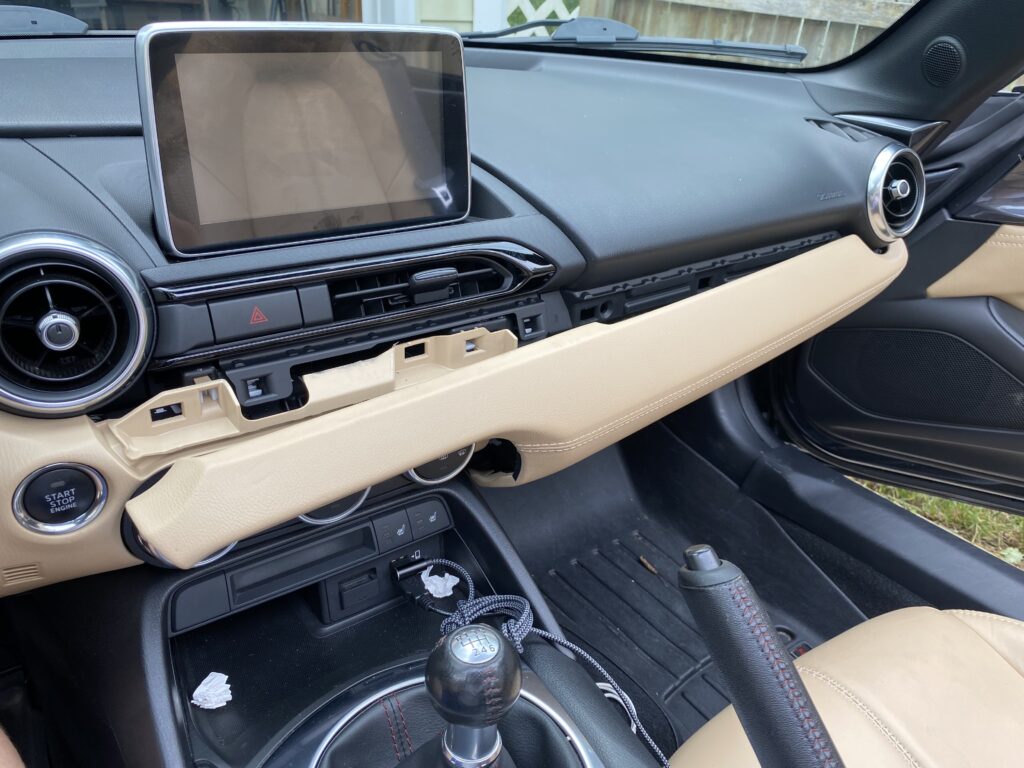
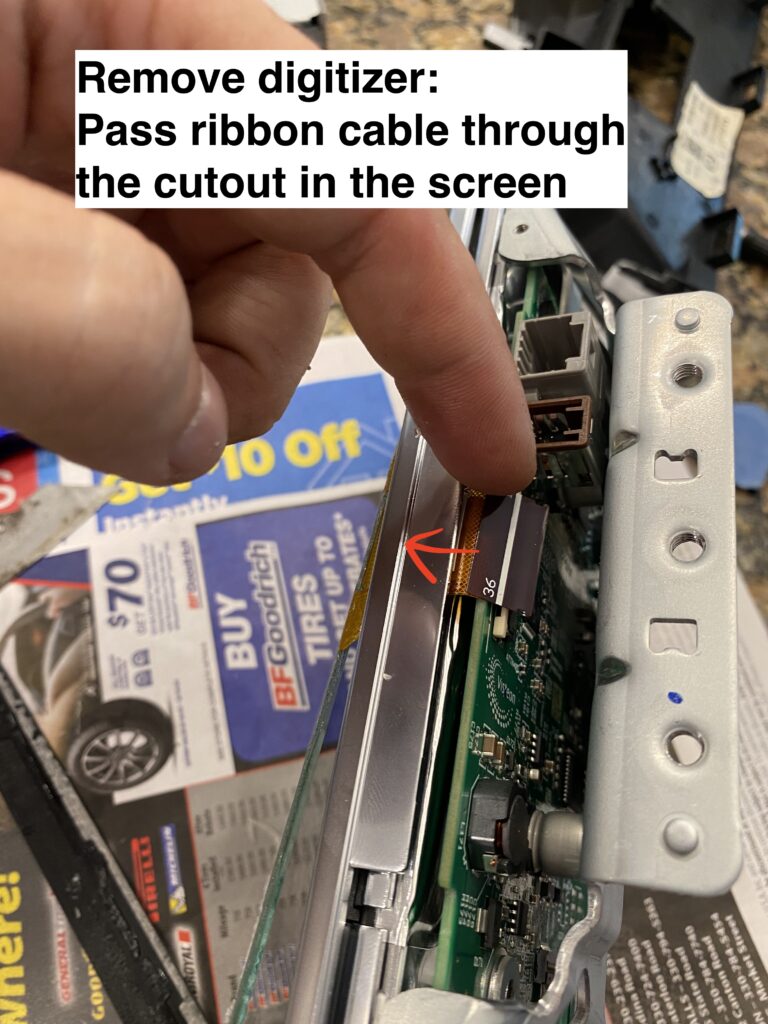
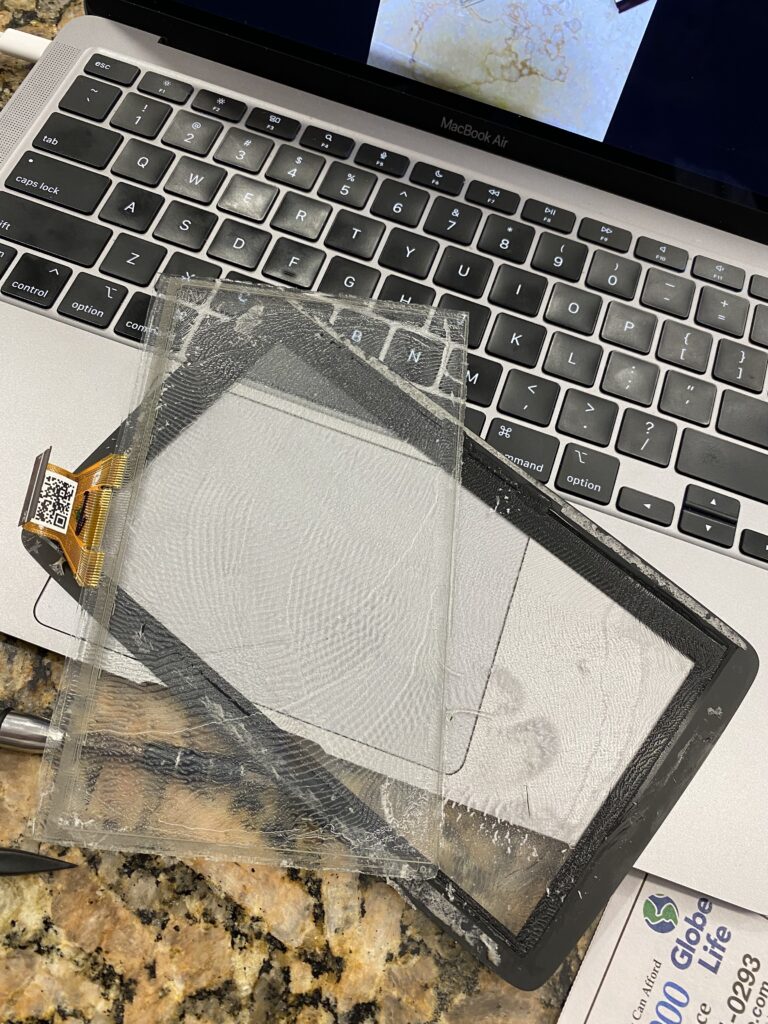
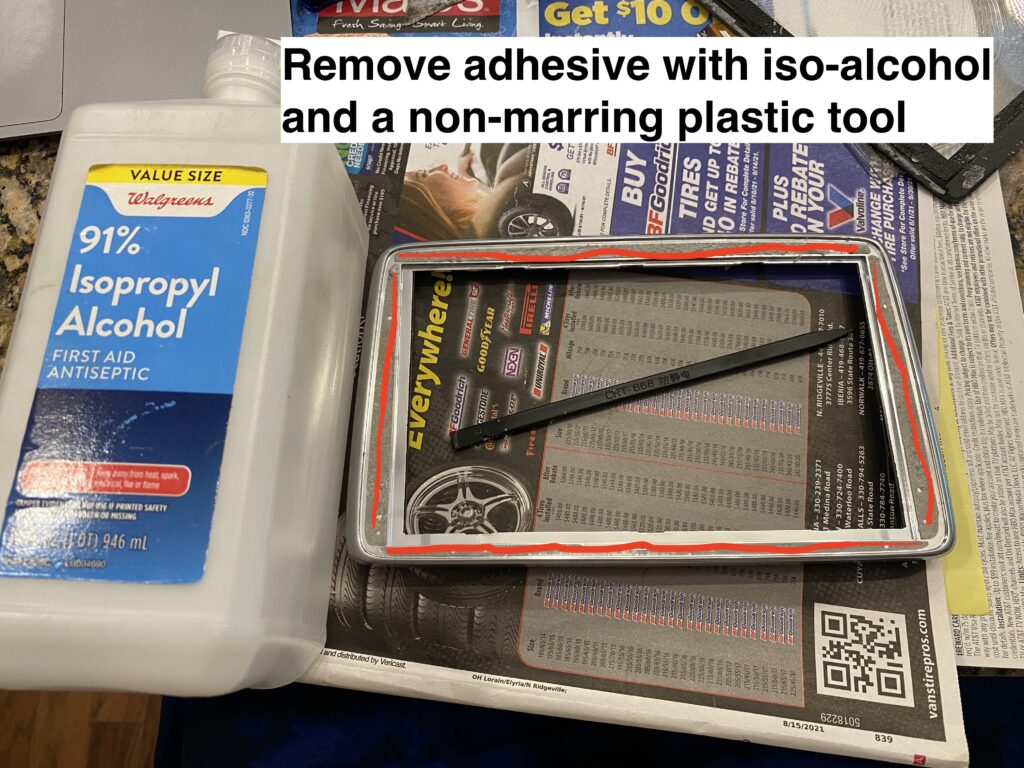
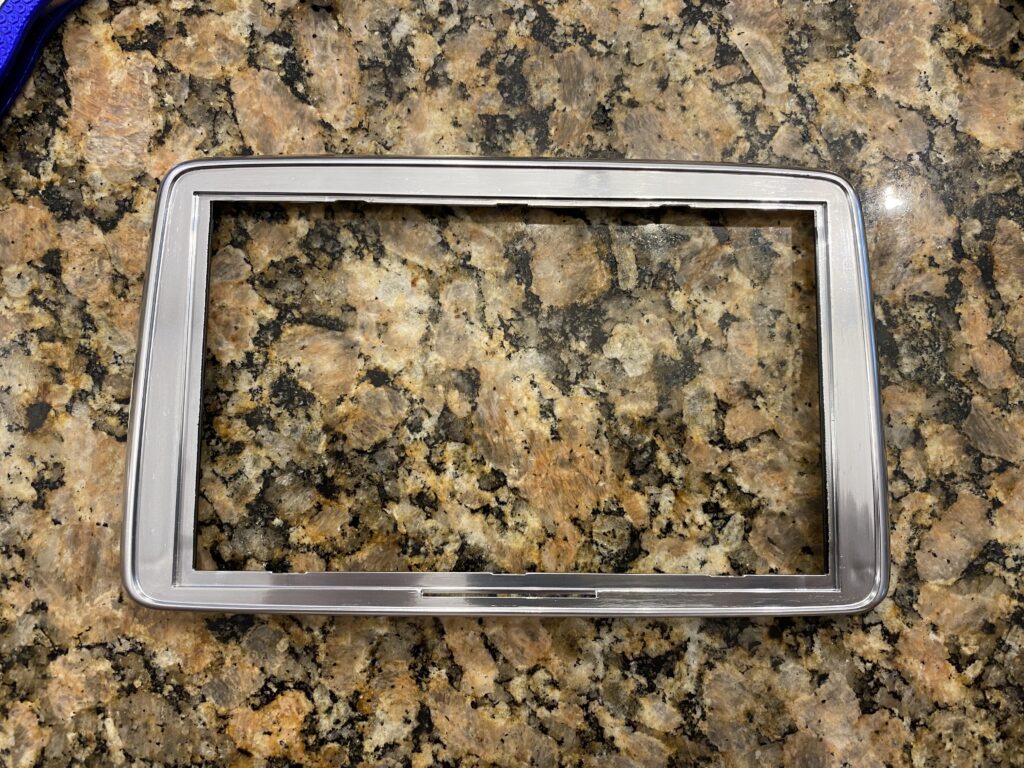
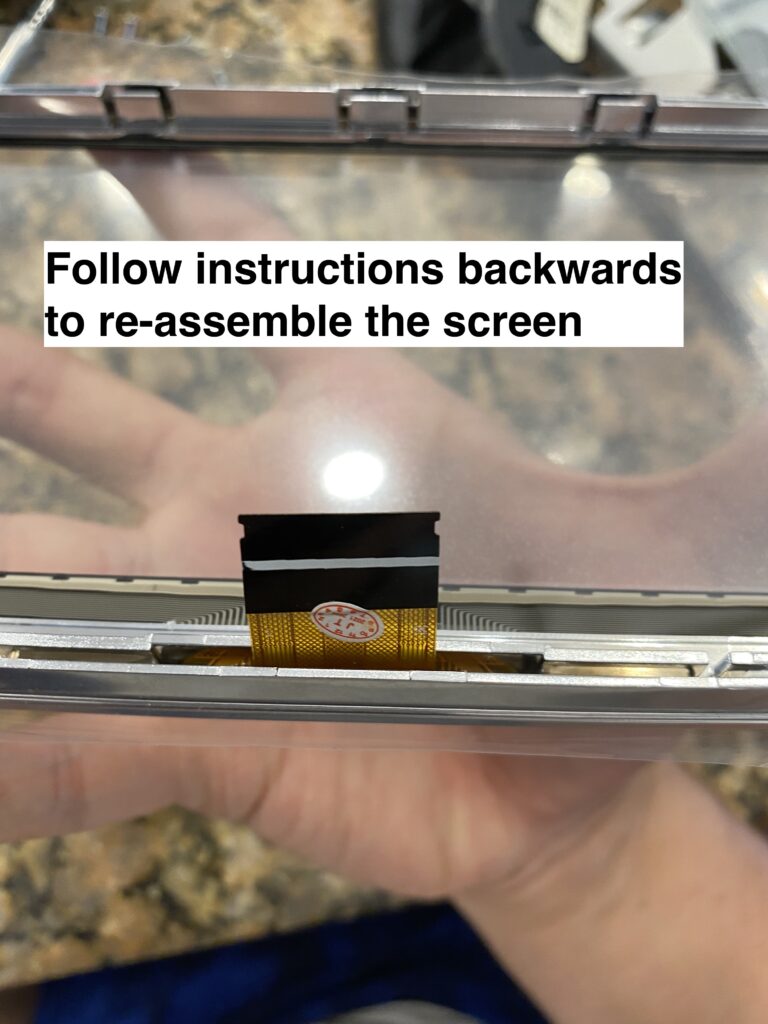
Note: I took these pictures while re-assembling, after fixing my screen. If something doesn’t look right, let me know. Certain steps in this guide must be done with extreme caution to not damage the screen PCB. If you are not comfortable with working on electronics, do not begin this guide.
If you found this guide helpful, please consider using the affiliate links below to purchase Tools needed for this project.
Buy Replacement touchscreen from Aliexpress
Buy Replacement touchscreen on eBay (Affiliate Link)
Disclosure about affiliate links: “When you click on links to various merchants on this site and make a purchase, this can result in this site earning a commission. Affiliate programs and affiliations include, but are not limited to, the eBay Partner Network.”
Buy Replacement touchscreen on Amazon (Affiliate Link)
Thank you so much! I have a 2016 Miata and happened to stumble upon this guide, followed it, and now the infotainment screen looks brand new and feels so much better. Kudos to you!
This is excellent work. It’s not a complex process, but you reflect a fairly high level of skill. Thanks for the effort!
ou se procurer un écran
tactile pour mx5 nd
Does your touchscreen work without putting glue between your casing and the digitizer?
This great thanks. When you took the old one off, in the picture it seems like a fully glued surface. However, you don’t mention any similar covering of glue on the eplacement, just the edge?
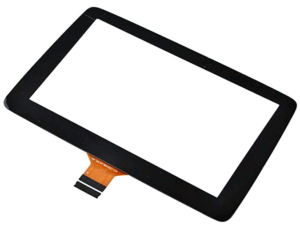
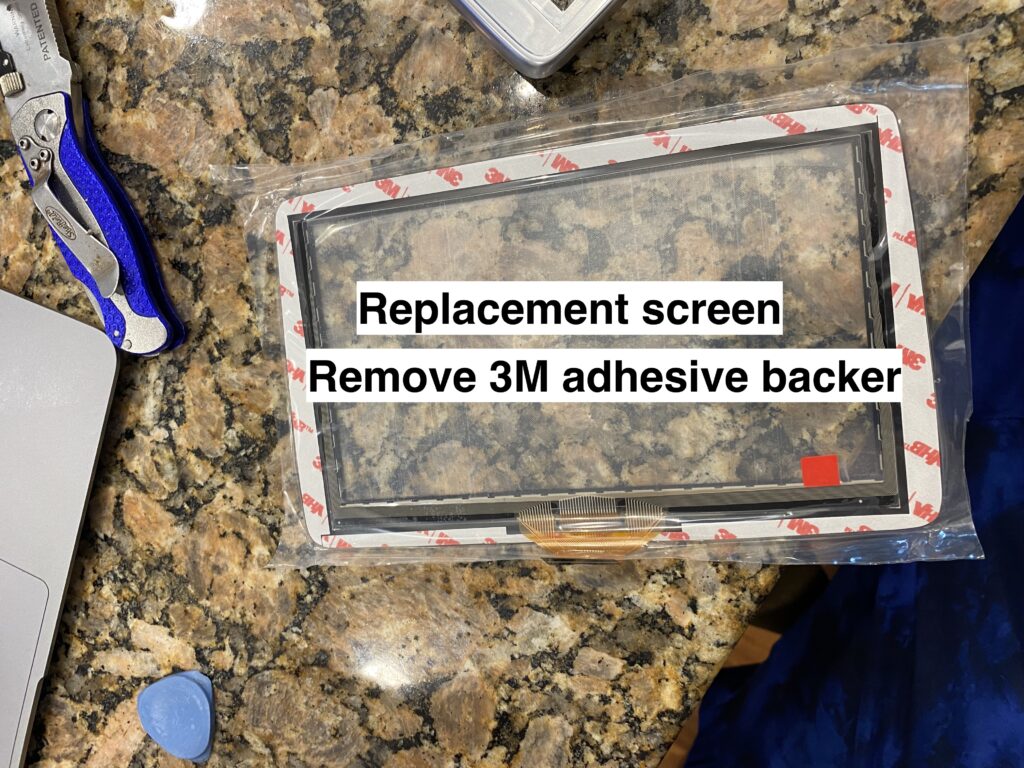
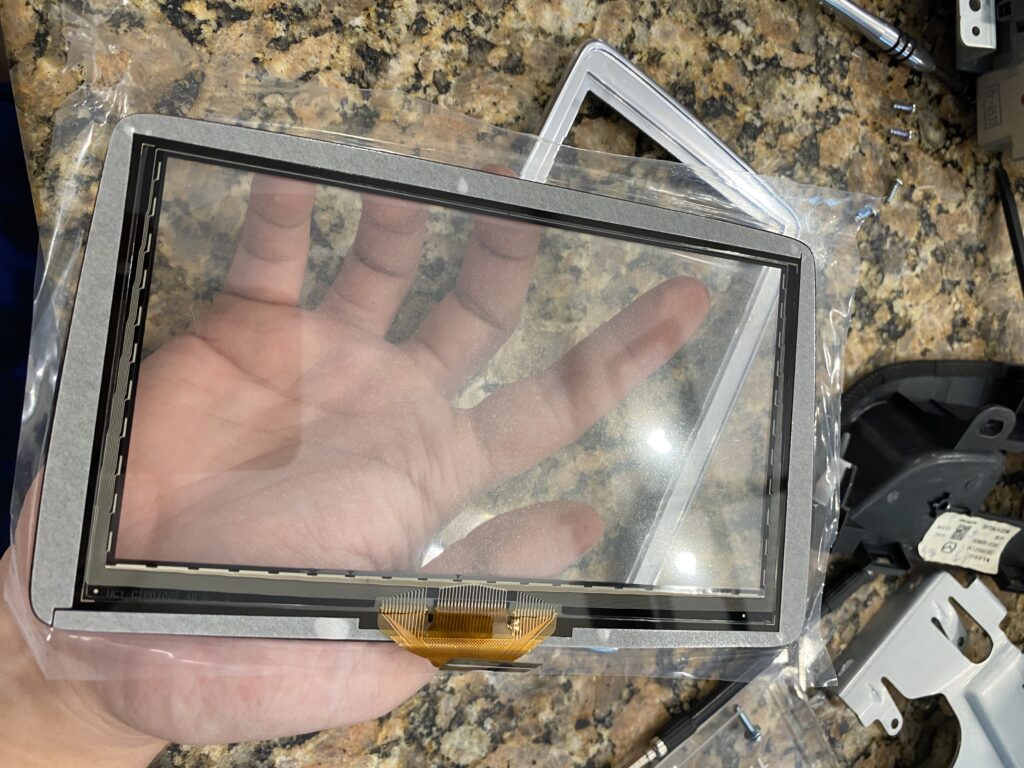
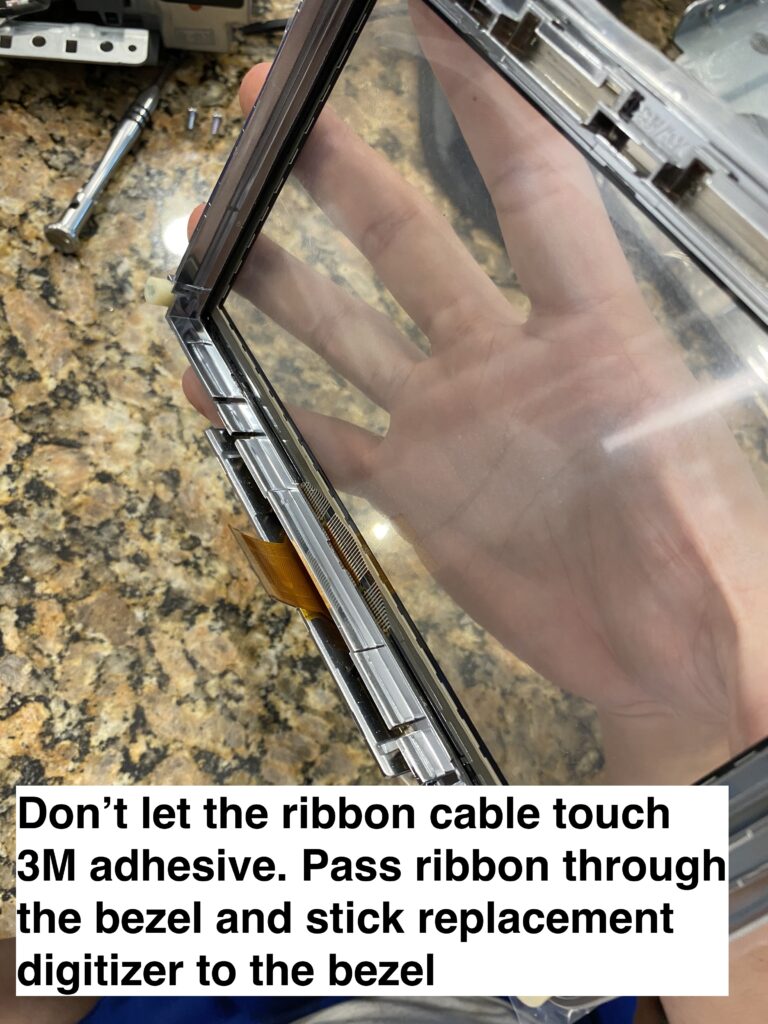
The part you can buy from AliExpress is both the screen cover (the part you touch with your fingers) and the digitizer. They are glued to each other, but there is also adhesive sticking that assembly to the touchscreen bezel. The replacement from Aliexpress has both the screen cover and digitizer already glued together, and includes 3M tape that lets you stick it to the bezel.
Merci beaucoup pour votre tuto, excellent vraiment, j’ai changé la vitre sans aucun problème 👍
Thank you dude! Awesome tutorial, I have fixed the screen of my FIAT 124 Spider !
Bro, you the GOAT for this one. Hands down. Bless your soul, man.
Thanks so much!!
Great!. Is this the product https://www.aliexpress.com/item/1005002581082051.html?spm=a2g0o.detail.1000060.1.30575d6eueOy8j&gps-id=pcDetailBottomMoreThisSeller&scm=1007.13339.291025.0&scm_id=1007.13339.291025.0&scm-url=1007.13339.291025.0&pvid=862bf9e7-df59-4d7e-8682-f8507e82c763&_t=gps-id:pcDetailBottomMoreThisSeller,scm-url:1007.13339.291025.0,pvid:862bf9e7-df59-4d7e-8682-f8507e82c763,tpp_buckets:668%232846%238113%231998&pdp_ext_f=%7B%22sku_id%22%3A%2212000021252028709%22%2C%22sceneId%22%3A%223339%22%7D&pdp_npi=2%40dis%21AUD%2151.37%2116.84%21%21%21%21%21%402101f6b416644484083772494e1a8e%2112000021252028709%21rec?
Just carried out this repair to our car and it looks like new again!
Brilliant, thank you so much.
A thoroughly excellent and very well-written and documented ‘how-to’ guide – thank you very much!
My car is a 2016 UK model, afflicted by the same spidery snowflake screen blemishes, and (out of warranty) my dealer had offered to pay the first £600 of the replacement bill, with me having to fork out £900 – it’s plainly a completely ludicrous and unnecessary exercise to swap out all that hardware for just a simple piece of faulty glass / plastic lamination!
So I looked a bit further, and found mention of the availability (thanks again!) of a replacement touchscreen, procured one for £24, and fitted it yesterday. I took the opportunity at the same time to fit an Apple CarPlay USB box (£125 for the complete kit), which was a perfect job to combine with it, given that so much of the same stuff needed to come out.
With many thanks once more, and all the best; JS.
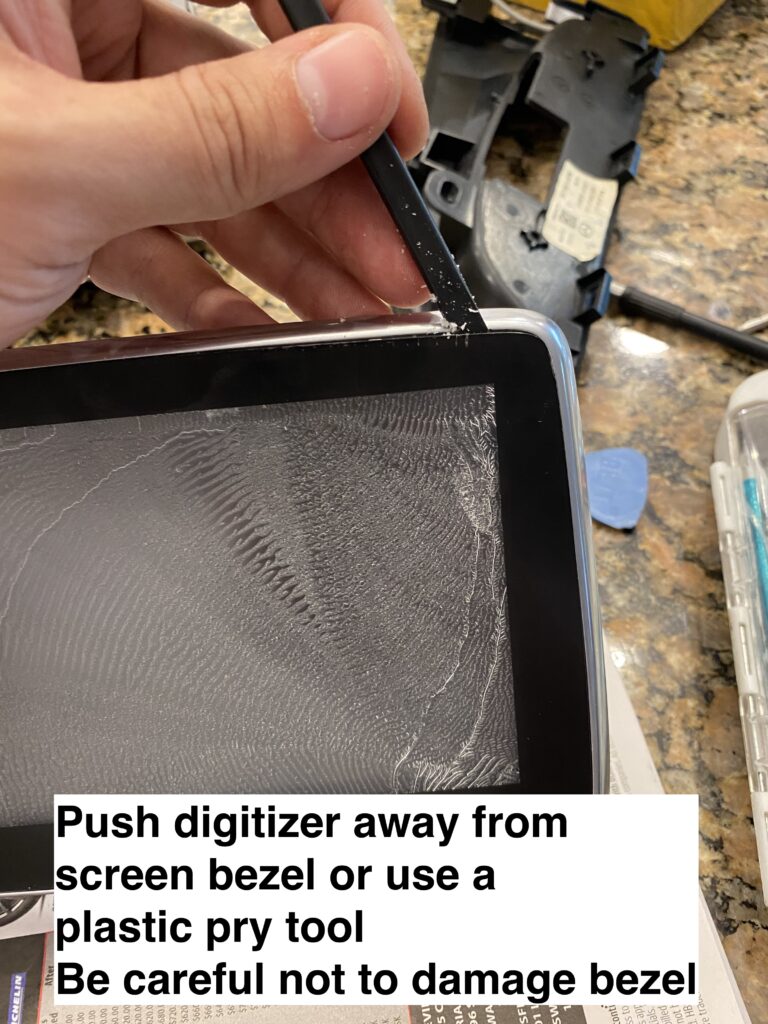
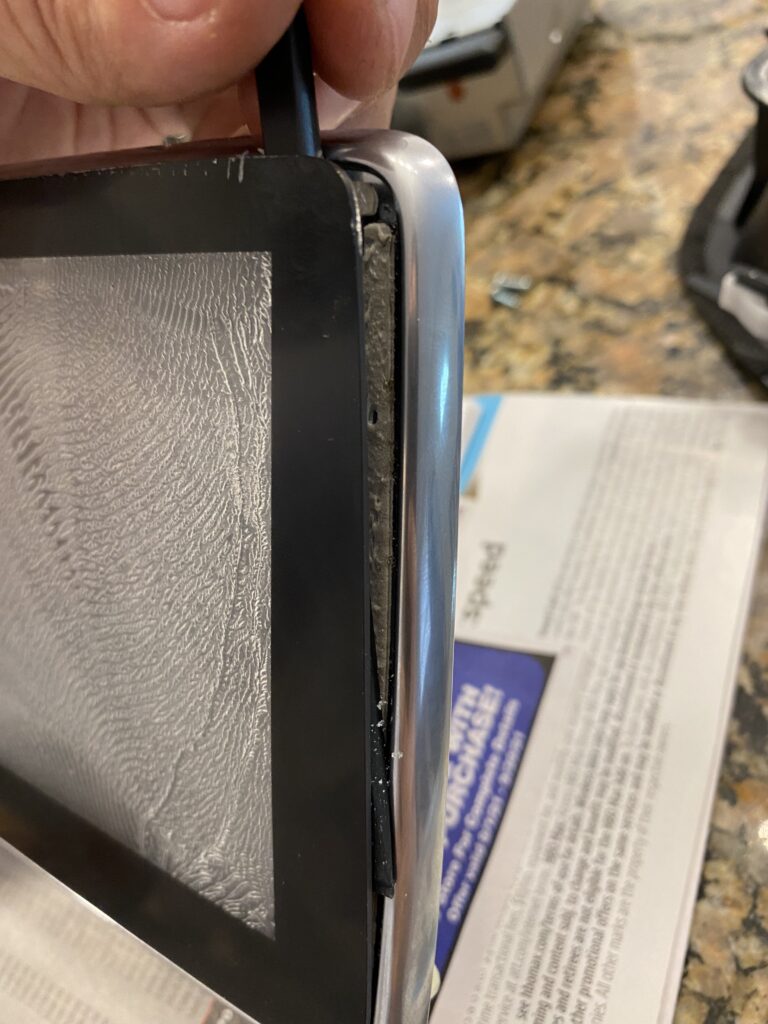
Just one last comment, which I’d meant to include above: once I reached the critical final stage of removing the old screen from the bezel, I was worried about damaging or even cracking the latter by prying it. So I warmed up each edge progressively with a hairdryer to soften the original adhesive, then used a small plastic phone screen pry-bar on the INSIDE of the bezel to guard against marking it. This worked really well, and once the tool was fully underneath the full width of the bezel recess in one position I was then able to work the heat and the ‘blade’ around the full perimeter to fully detach the screen.
From the UK I bought my part here: https://www.ebay.co.uk/itm/384585599701
[if you also fancy upgrading your infotainment system to Apple CarPlay at the same time – extremely easy as you have access to almost everything you need once the screen assembly is removed – a reliable source for the kit is here: https://www.amazon.co.uk/gp/product/B091F91LMP/ref=ppx_yo_dt_b_asin_title_o00_s00?ie=UTF8&psc=1%5D
Pingback: Infotainment Replacement Touch-Screen Details | 21ˢᵗ Century Fiat / Abarth 124 Spider
Does this replacement touchscreen/s linked work with newer models, like 2019 and upwards?
Hi, I was under the impression newer models didn’t have this same defect. Unfortunately, I don’t have any information if this works with the newer cars. I know at some point they made some small changes to the infotainment around the time the ND2 was released. Let me know what you find out though!
Thanks for the great “how to” info! I have a 2020 ND Club which unfortunately has this issue. Mazda has a replacement screen and bezel assembly for around 200 dollars. Since I wasn’t sure the older screens would be compatible, I went this route. It’s still much cheaper than having it serviced.
Hello, I hope you are well! Will this work the same with my Mazda cx3 model? I know the disassembly and overall taking off the infotainment system is different, but after that will the steps be the same?
Hi Dale, I don’t have definitive proof the process is identical, but I don’t see why it wouldn’t be, as long as the screen size is identical, and made up of the same separate pieces (bezel, touchscreen, back panel)
Will this part from Amazon that claims it works for 2014-2016 Mazda MX-5 also work for 2017 MX-5?
I personally didn’t have a 2017, but seeing as the displays appear to be identical between those years, I would say yes.
Thank you so much for this great piece of work. I was able to purchase the digitizer through Amazon. The whole thing was the same procedure for my Spider 124. It took me about 1 hour, and it worked like a charm.
Are any of the links to purchase compatible with a 2017 Mazda CX-9? I’m having trouble finding the replacement screen.
This guide is amazing! It fixed the ghost touch issue I’ve had on my infotainment screen and it looks so much better than the stock screen.
Hey Tyler!
Thank you so much for posting this! I was able to replace my 124 Abarth (2018) screen by following along. Sourdough there were some modifications, it provided each step!
Cheers to you!!
Great – thank you for posting this. Very clear instructions which enabled me to replace digitizer in 2017 Mazda MX5 RF. Wonderful!
Kudos / thanks much for this, used on a 2017 Abarth 124. The trim piece with the emergency button extends beyond what the pictures show above however the procedure is basically the same, just on the extra bit there are 3 metal clips that sound scary when removed but nothing busted. Thanks much!!!!!!!!!